
In this step-by-step tutorial, we learn how to setup Firebase Firestore to add, read, update, and delete data within a Next.js application. Firestore offers real-time data features and once you learn it you can use it in all your future projects easily, so let's get started.
By the end of this you'll learn how to:
- Create and configure a Firebase project.
- Initialize Firestore securely using environment variables.
- Implement essential CRUD (Create, Read, Update, Delete) functions within Next.js Client Components.
If you prefer watching a tutorial video checkout out our Firebase Firestore with Next.js YouTube tutorial.
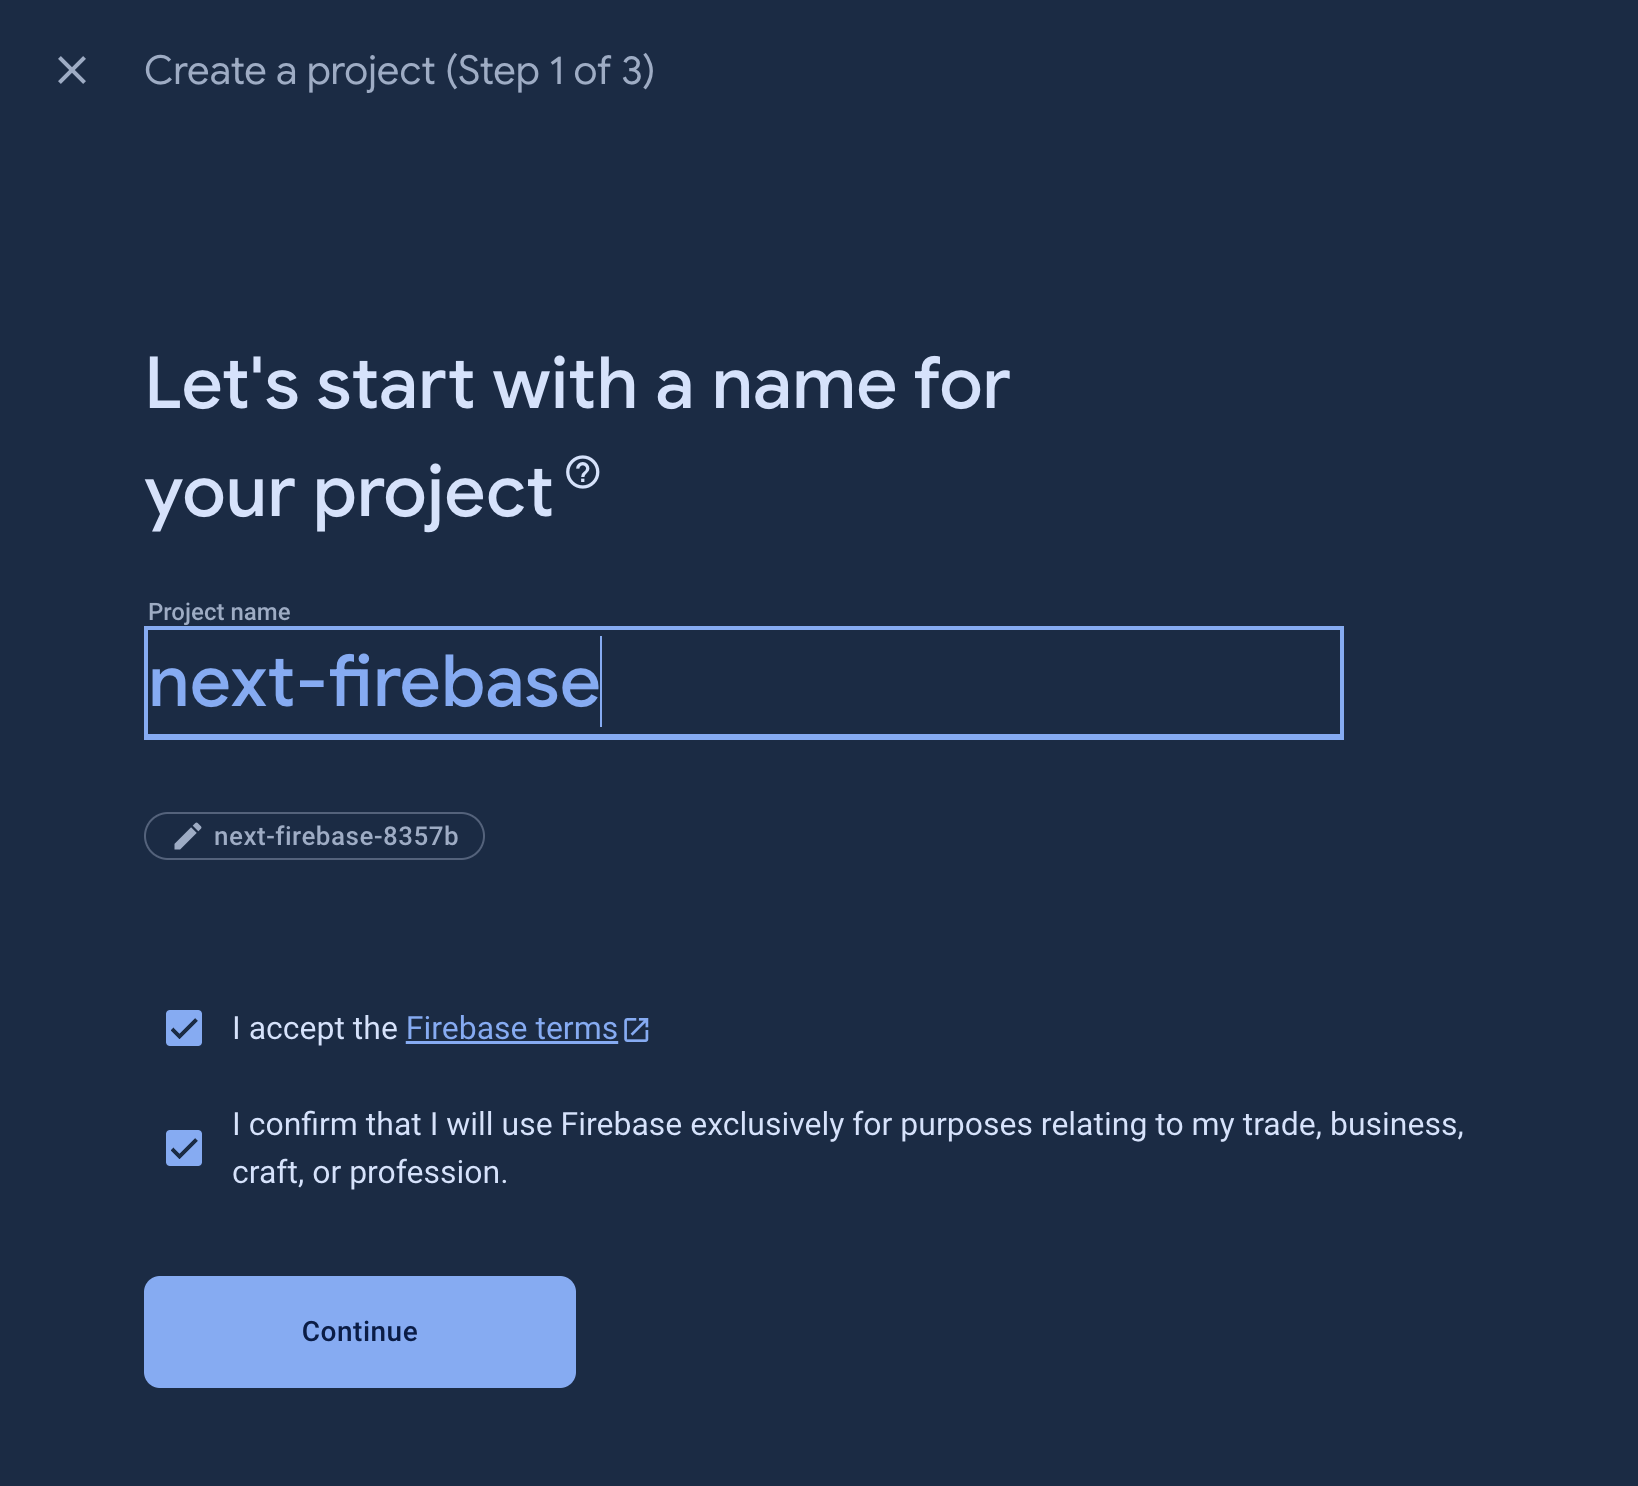
Create a Firebase Project
- Navigate to the Firebase Console: Sign in at the Firebase Console using your Google account.
- Start a New Project: Click "Create a project," follow the setup wizard, and establish your new Firebase project.
Register Your Next.js App with Firebase
- Add Your Web App to Firebase: In your Firebase console, click the "Web" icon (
</>) to add your Next.js application.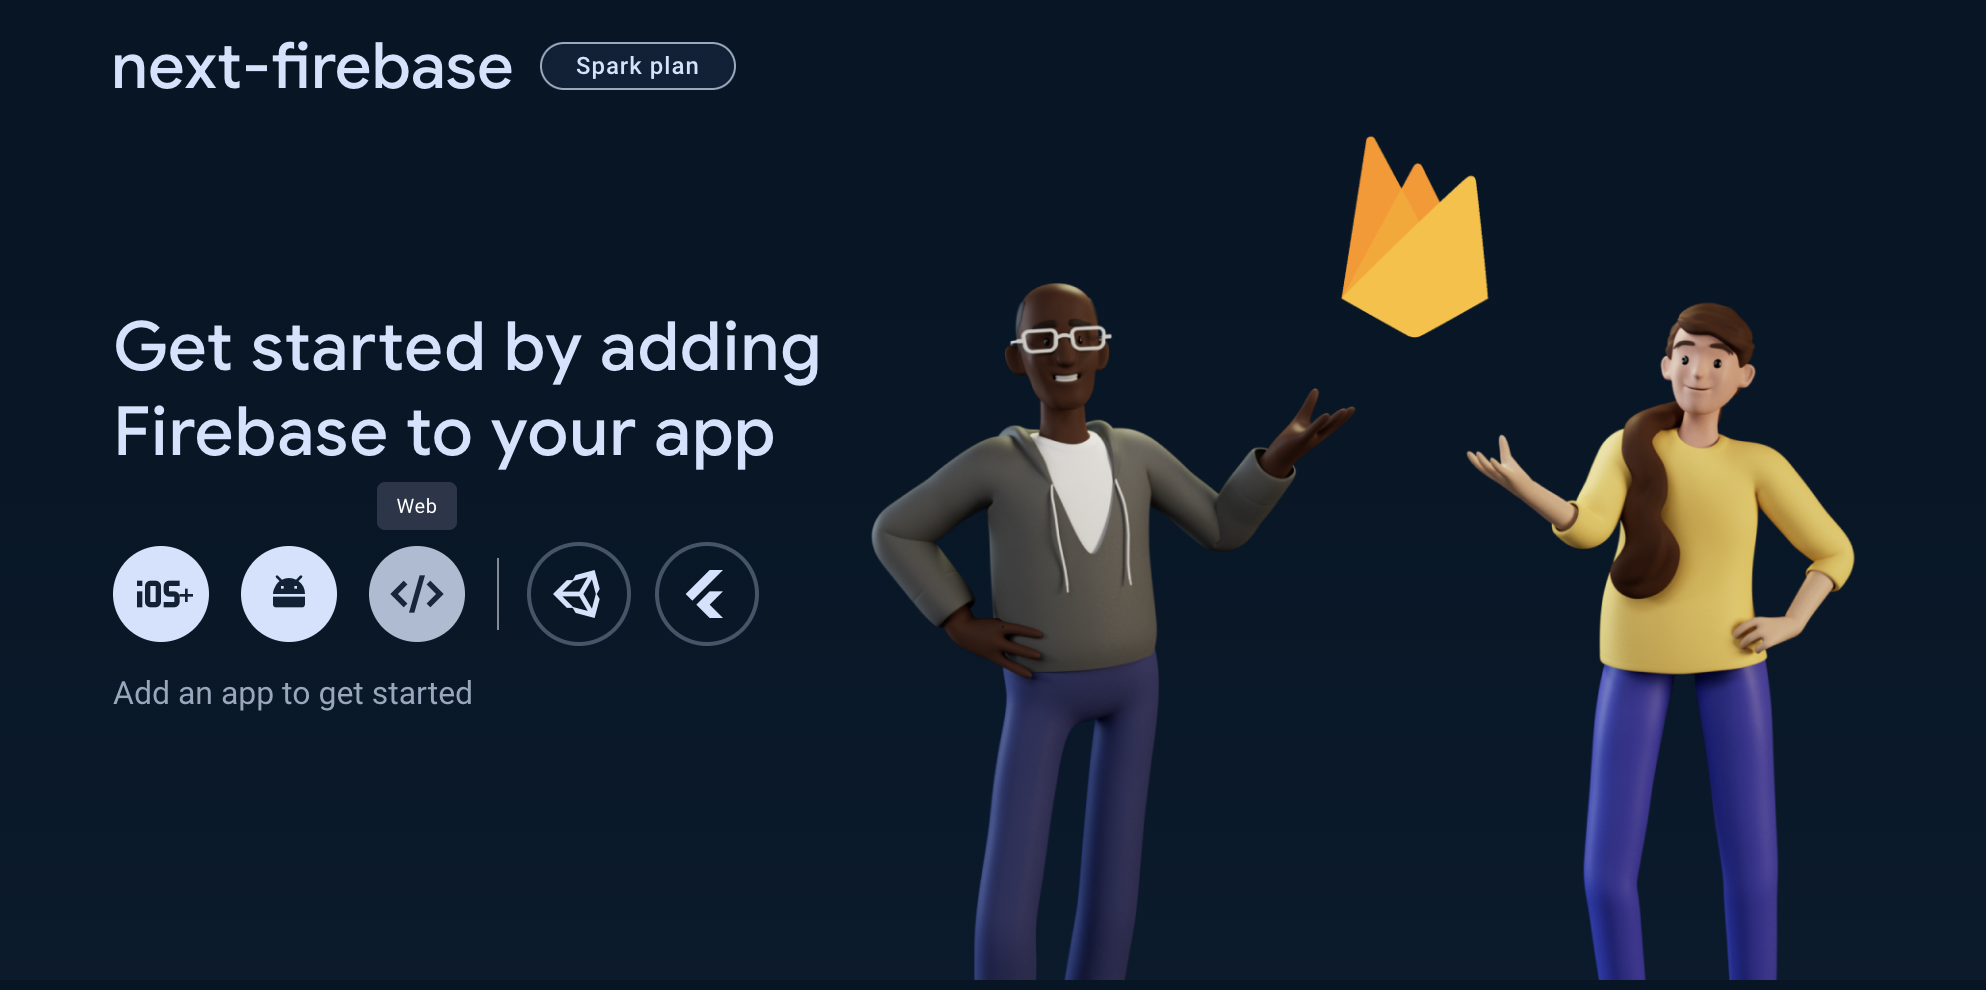
- Configure Your App: Provide a nickname for your app. You may also set up Firebase Hosting at this stage or opt to configure it later.
- Firebase SDK Snippet: Post-registration, Firebase will provide you with a snippet containing SDK scripts and configuration settings crucial for your Next.js application. We will need this for later so keep the tab open for now.
Activate Firebase Database
-
On the left nav you will see the Build dropdown and in there open Firestore Database and then Create database
-
In the popup since we are only doing local development for now change this to Start in test mode and complete both steps.

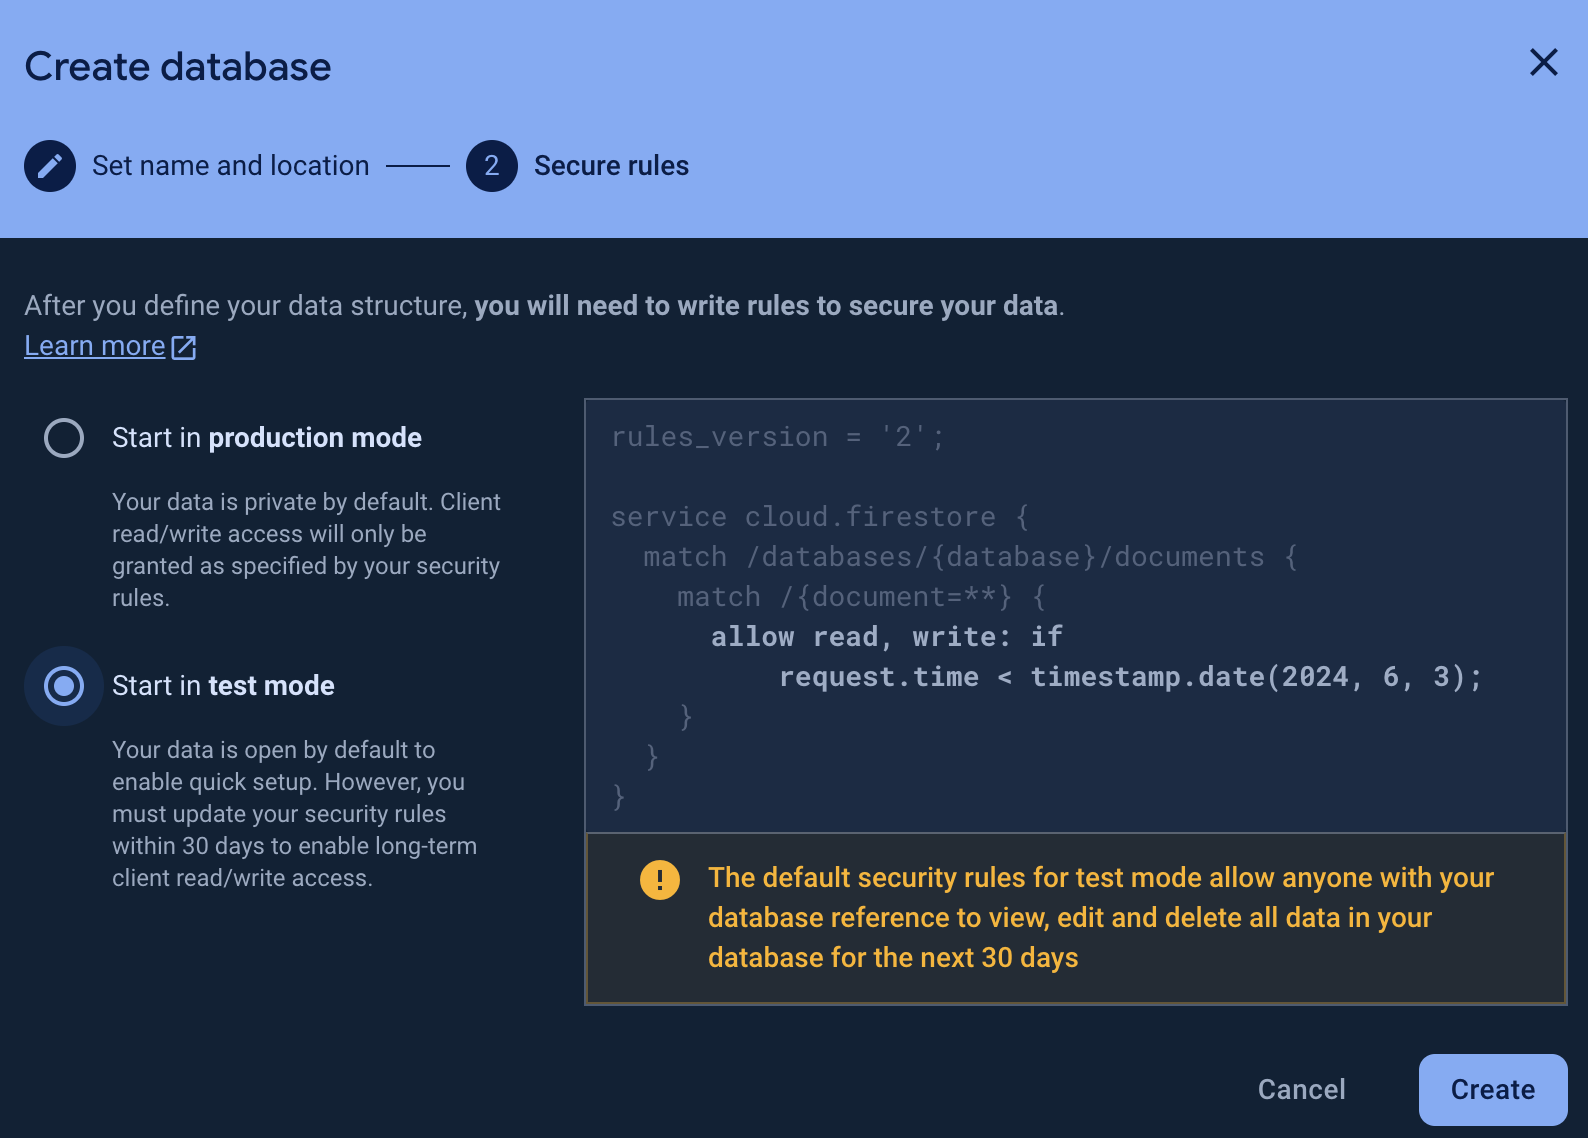
-
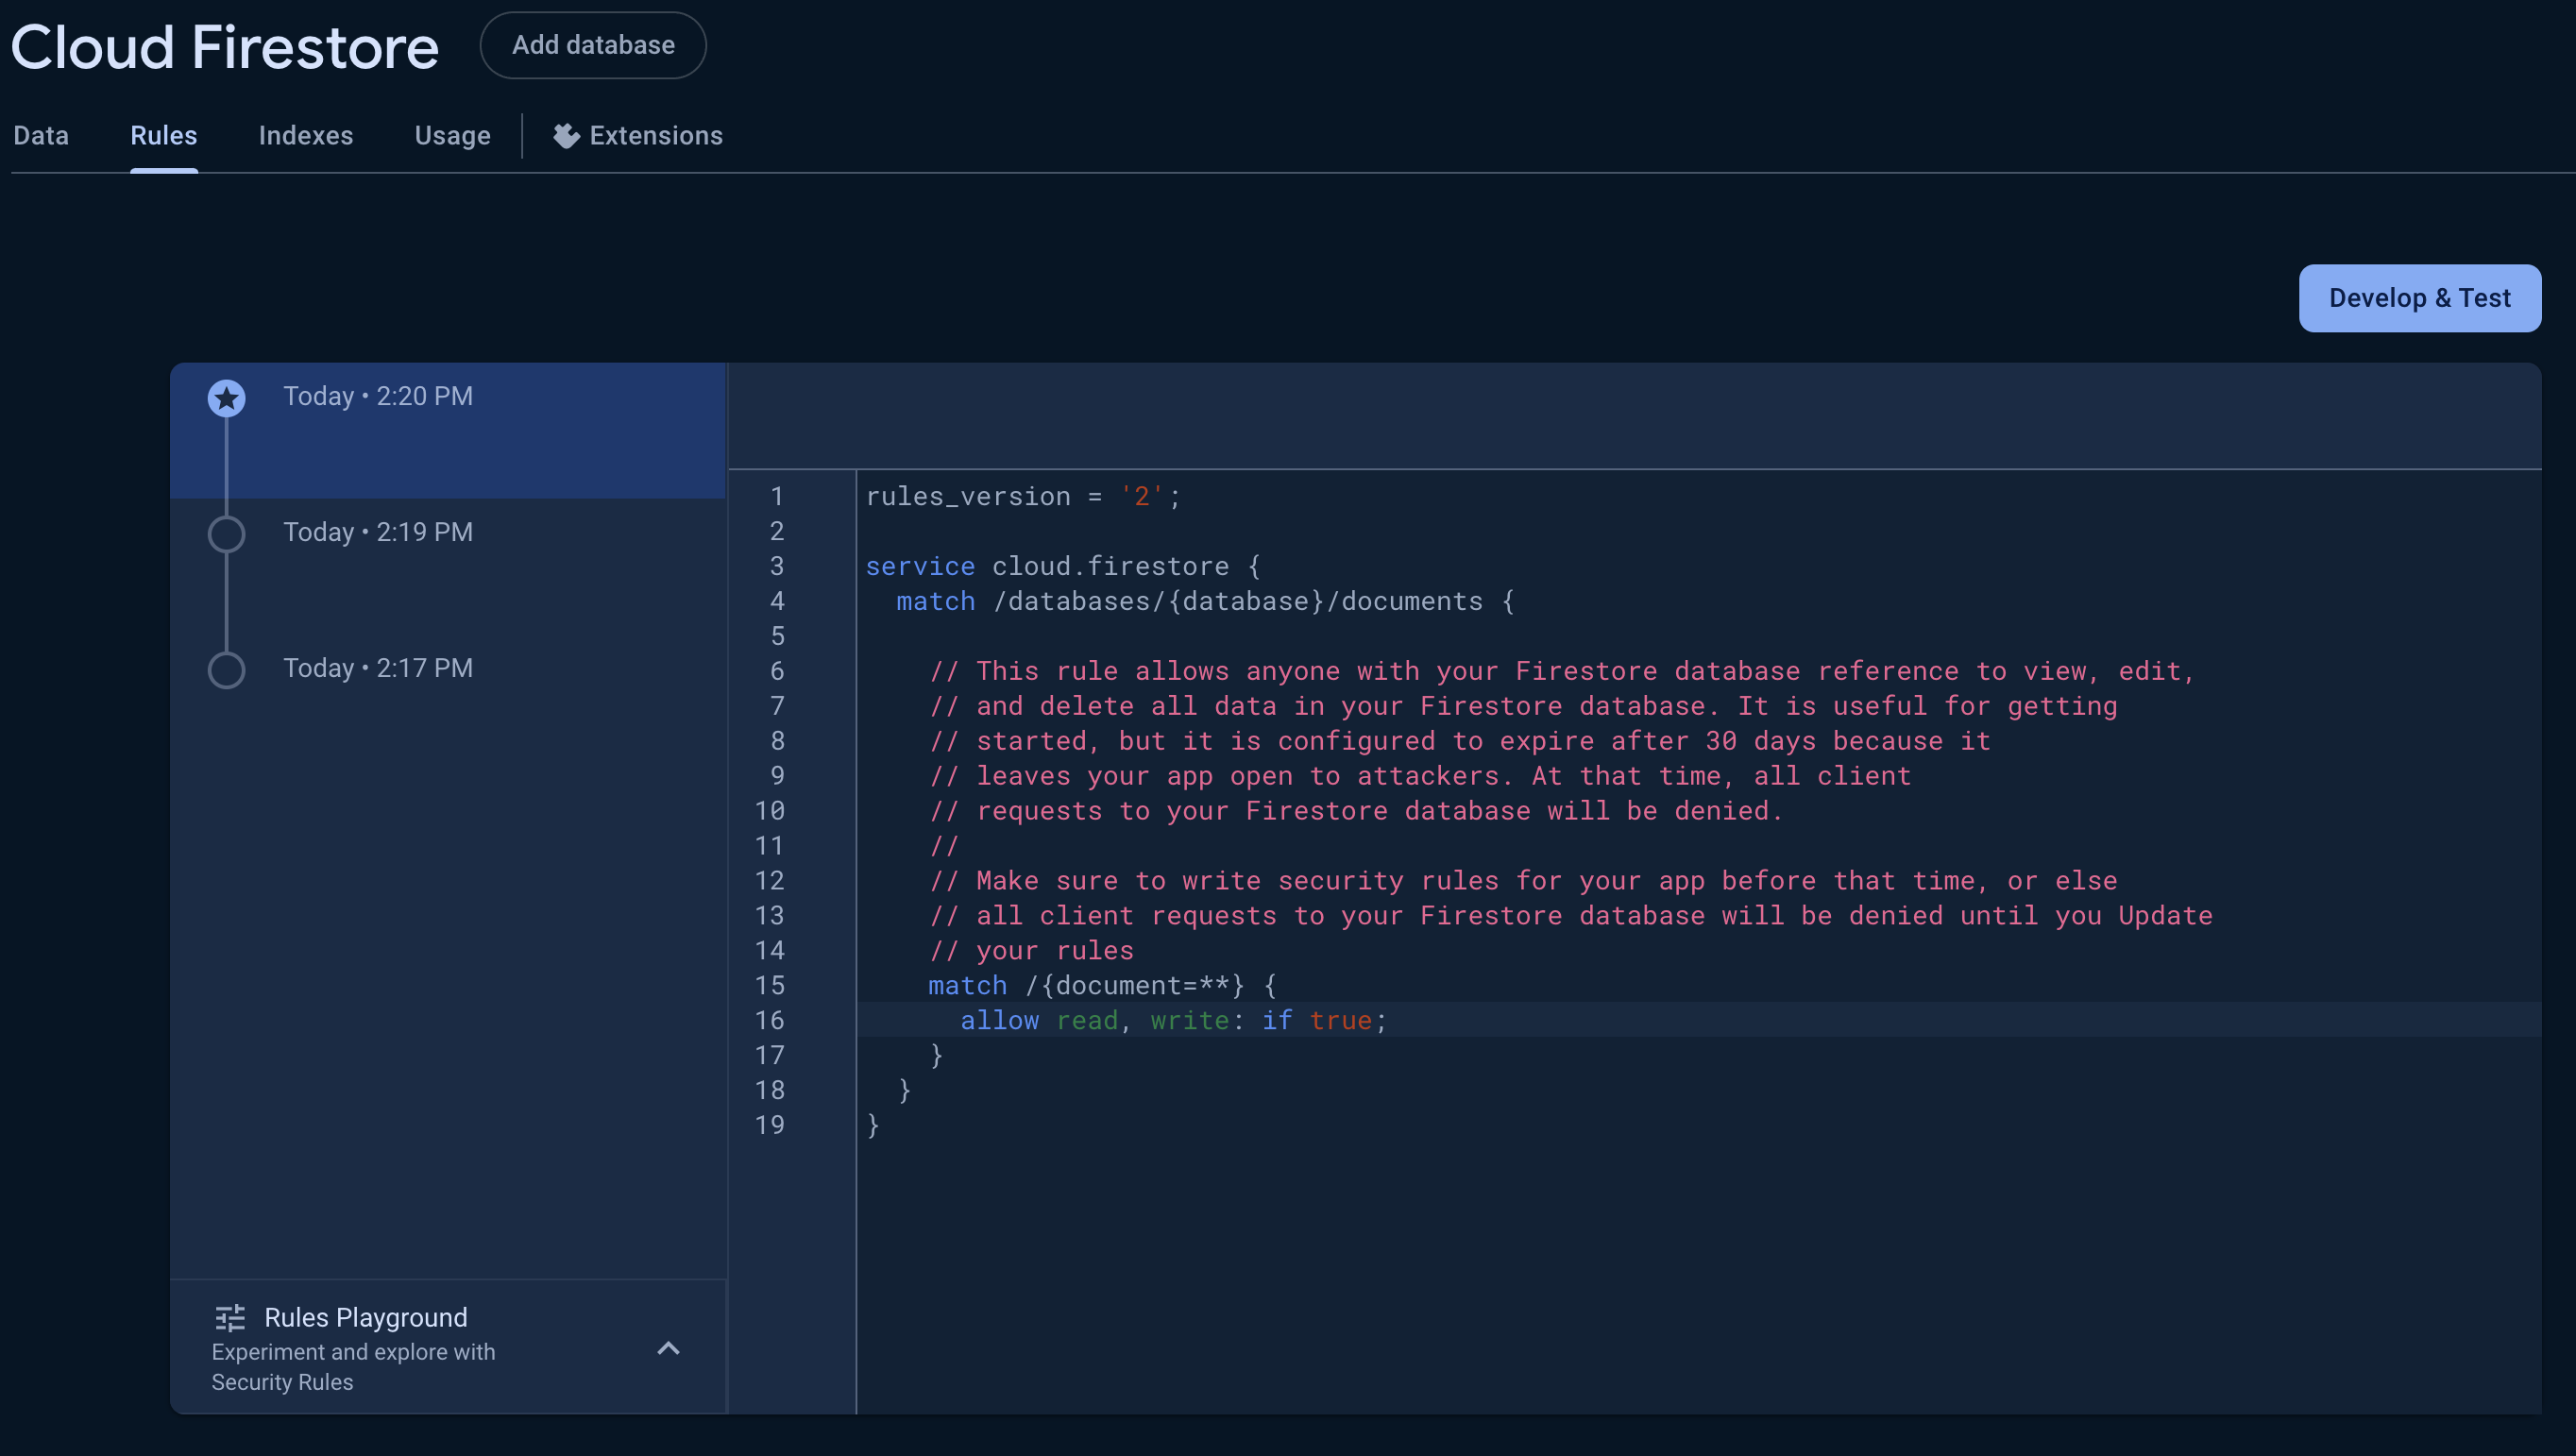
Head over to the Rules tab in Cloud Firestore and update the rules so we can make changes locally:
service cloud.firestore {
  match /databases/{database}/documents {
    match /{document=**} {
      allow read, write: if true;
    }
  }
}
Also: Check out the new 🔥 Firebase Realtime Database tutorial building a vote/poll nextjs app.
Install Firebase SDK in Your Next.js Project
If you don’t have a Next.js app yet you can simply set one up following this tutorial or running npx create-next-app@latest next-firebase:
> npx create-next-app@latest next-firebase
✔ Would you like to use TypeScript? No
✔ Would you like to use ESLint? Yes
✔ Would you like to use Tailwind CSS? Yes
✔ Would you like to use `src/` directory? Yes
✔ Would you like to use App Router? (recommended) Yes
✔ Would you like to customize the default import alias (@/*)? No
Creating a new Next.js app in /next-firebase.
After you have your app then we can follow the steps below:
-
Access Your Next.js Project Directory: Use your command line to navigate into your project.
-
Install Firebase via NPM: Execute the following command:
npm install firebase
Integrate Firebase into Your Next.js Application
-
Set Up Firebase Configuration File: In your project, create a file named
firebaseConfig.jswithin a directory likelib/orutils/. -
Insert Firebase Configuration: Use the keys from the Firebase SDK from earlier.
// utils/firebaseConfig.js
import { initializeApp } from "firebase/app";

const firebaseConfig = {
  apiKey: "YOUR_API_KEY",
  authDomain: "YOUR_AUTH_DOMAIN",
  projectId: "YOUR_PROJECT_ID",
  storageBucket: "YOUR_STORAGE_BUCKET",
  messagingSenderId: "YOUR_MESSAGING_SENDER_ID",
  appId: "YOUR_APP_ID"
};

// Initialize Firebase
const app = initializeApp(firebaseConfig);

export default app;
Utilize Firebase Services in Your Next.js App
You can now implement various Firebase services like Authentication, Firestore, or Firebase Storage within your Next.js application. For instance, to use Firestore:
-
Include Firestore SDK:
npm install @firebase/firestore -
Create and Export Firestore Instance: I’m creating a firestore.js file in utils/:
import { getFirestore } from "firebase/firestore";
import firebaseApp from './firebaseConfig';

const db = getFirestore(firebaseApp);
export default db;
Secure Your Firebase Config with Environment Variables
To enhance security, store your Firebase configuration in environment variables. Modify your Firebase config to utilize process.env:
const firebaseConfig = {
  apiKey: process.env.NEXT_PUBLIC_FIREBASE_API_KEY,
  authDomain: process.env.NEXT_PUBLIC_FIREBASE_AUTH_DOMAIN,
  projectId: process.env.NEXT_PUBLIC_FIREBASE_PROJECT_ID,
  storageBucket: process.env.NEXT_PUBLIC_FIREBASE_STORAGE_BUCKET,
  messagingSenderId: process.env.NEXT_PUBLIC_FIREBASE_MESSAGING_SENDER_ID,
  appId: process.env.NEXT_PUBLIC_FIREBASE_APP_ID,
}
Place these in your .env.local file located at the project root.
NEXT_PUBLIC_FIREBASE_API_KEY=
NEXT_PUBLIC_FIREBASE_AUTH_DOMAIN=
NEXT_PUBLIC_FIREBASE_PROJECT_ID=
NEXT_PUBLIC_FIREBASE_STORAGE_BUCKET=
NEXT_PUBLIC_FIREBASE_MESSAGING_SENDER_ID=
NEXT_PUBLIC_FIREBASE_APP_ID=
Create a Next.js Component to Add Data to Firestore
To demonstrate how you can interact with Firestore within a Next.js application, we'll create a simple form component that lets users input data, which will then be saved to Firestore. Here's how you can do it:
- Create the Component
Now, let's create a simple form component that allows users to input data:
// components/AddItem.js
import { useState } from 'react';
import db from '../utils/firestore';
import { collection, addDoc } from "firebase/firestore";
const AddItem = () => {
const [value, setValue] = useState('');
const handleSubmit = async (event) => {
event.preventDefault();
try {
const docRef = await addDoc(collection(db, "items"), {
name: value
});
console.log("Document written with ID: ", docRef.id);
setValue(''); // Clear the form
} catch (e) {
console.error("Error adding document: ", e);
}
};
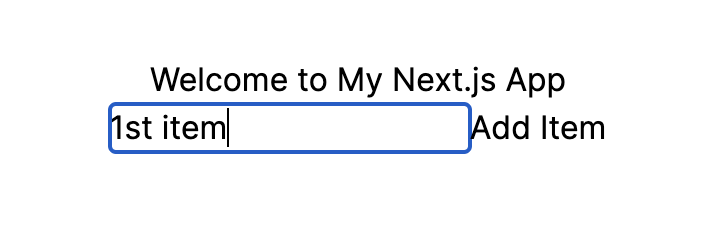
return (
<form onSubmit={handleSubmit}>
<input
type="text"
value={value}
onChange={(e) => setValue(e.target.value)}
placeholder="Add a new item"
/>
<button type="submit">Add Item</button>
</form>
);
};
export default AddItem;
- Use the Component in Your Application
Add the AddItem component to one of your pages, for example in app/page.js:
"use client"

import AddItem from '../components/AddItem';

export default function Home() {
  return (
    <div>
      <h1>Welcome to My Next.js App</h1>
      <AddItem />
    </div>
  );
}
Run our local app
Run your application to see the form in action:
npm run dev
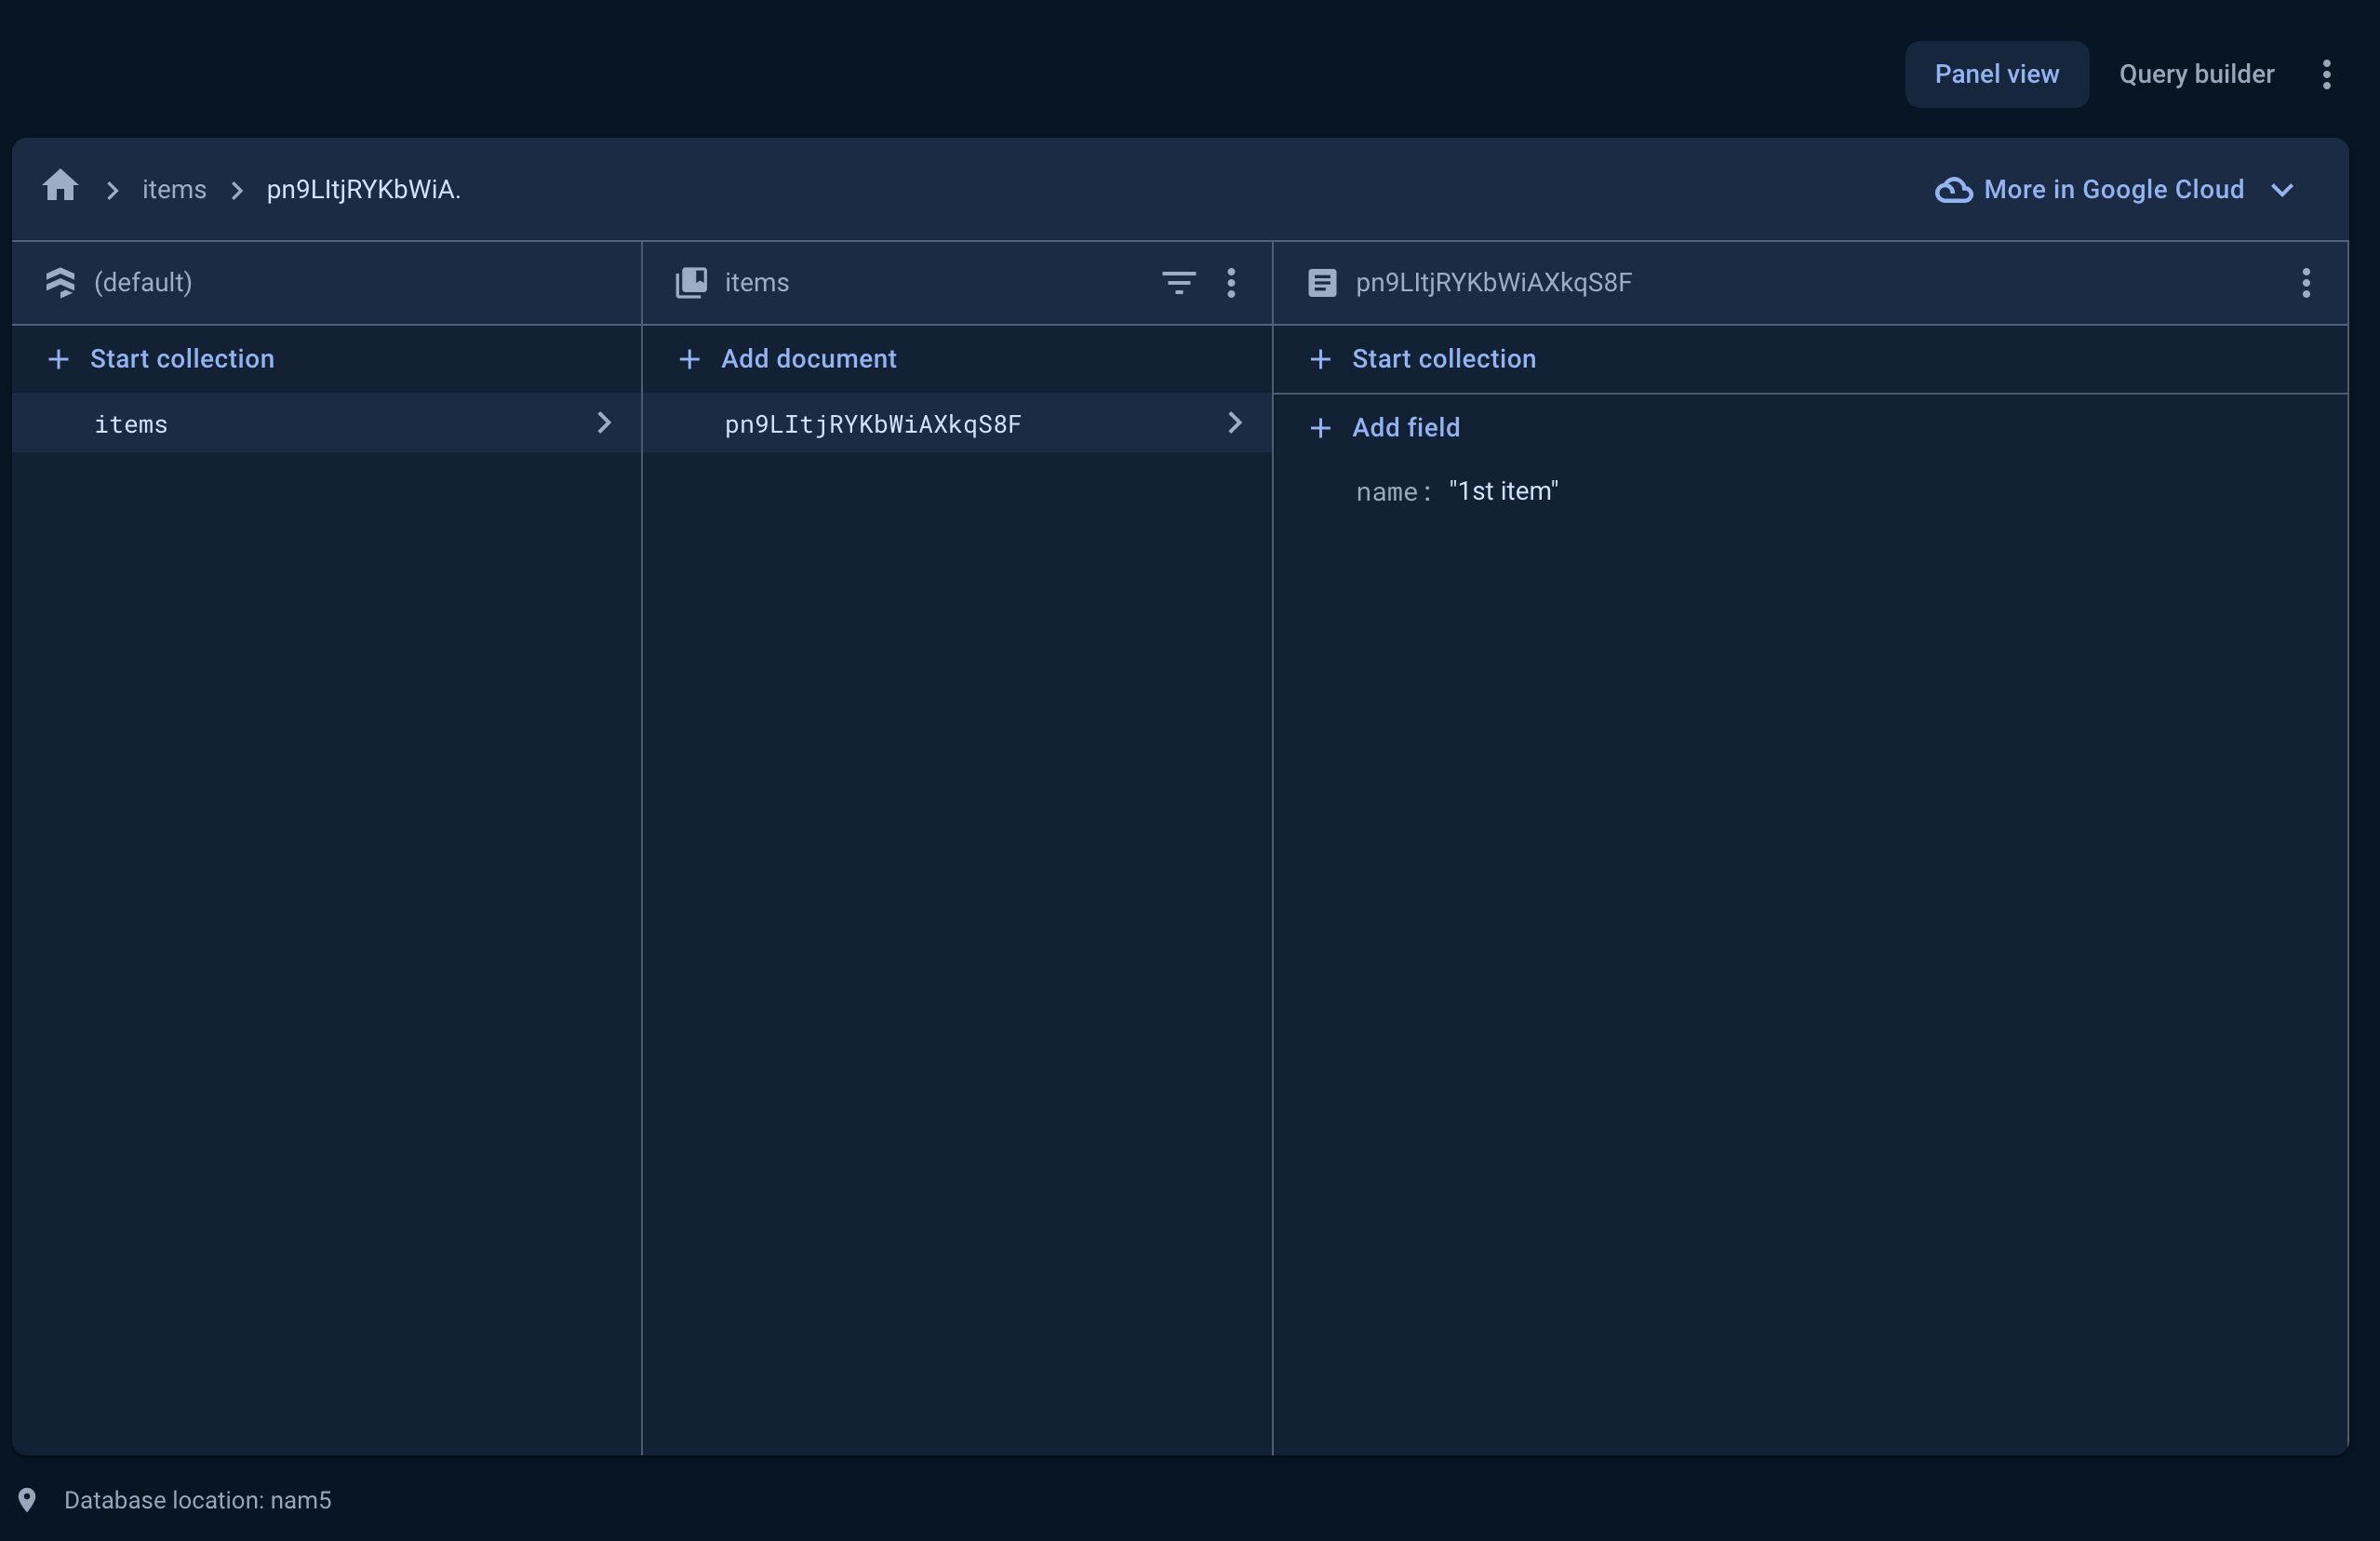
Navigate to http://localhost:3000 and you should see the form. Any data input and submitted via the form will be added to the "items" collection in Firestore.
Next we’re going to add a few more things like List all items and Delete items so here’s the code changes we’ll make.
- Creating the ListItems component
// app/components/ListItems.js
"use client"

import { useEffect, useState } from "react"
import db from "../utils/firestore"
import { collection, getDocs } from "firebase/firestore"
import DeleteItem from "./DeleteItem"

const ListItems = () => {
  const [items, setItems] = useState([])

  useEffect(() => {
    const fetchItems = async () => {
      const querySnapshot = await getDocs(collection(db, "items"))
      setItems(querySnapshot.docs.map((doc) => ({ ...doc.data(), id: doc.id })))
    }

    fetchItems()
  }, [])

  return (
    <div className="border w-96 text-center p-4">
      <h2>List of Items</h2>
      <ul>
        {items.map((item) => (
          <li key={item.id} className="border-t-2 p-2">
            <p>{item.name}</p>
            <DeleteItem id={item.id} />
          </li>
        ))}
      </ul>
    </div>
  )
}

export default ListItems
- Create the DeleteItem component
// app/components/DeleteItem.js
import db from "../utils/firestore"
import { doc, deleteDoc } from "firebase/firestore"

const DeleteItem = ({ id }) => {
  const handleDelete = async () => {
    const itemRef = doc(db, "items", id)
    try {
      await deleteDoc(itemRef)
      alert("Item deleted successfully")
    } catch (error) {
      console.error("Error deleting document: ", error)
      alert("Error deleting item")
    }
  }

  return (
    <button
      onClick={handleDelete}
      className="border bg-red-400 p-1 rounded text-white"
    >
      Delete Item
    </button>
  )
}

export default DeleteItem
- Let’s use them in our page.js
// src/app/page.js

import AddItem from "../components/AddItem"
import ListItems from "@/components/ListItems"

export default function Home() {
  return (
    <div className="bg-white h-screen w-screen text-black flex flex-col justify-center items-center">
      <h1>Welcome to My Next.js App</h1>
      <AddItem />
      <ListItems />
    </div>
  )
}
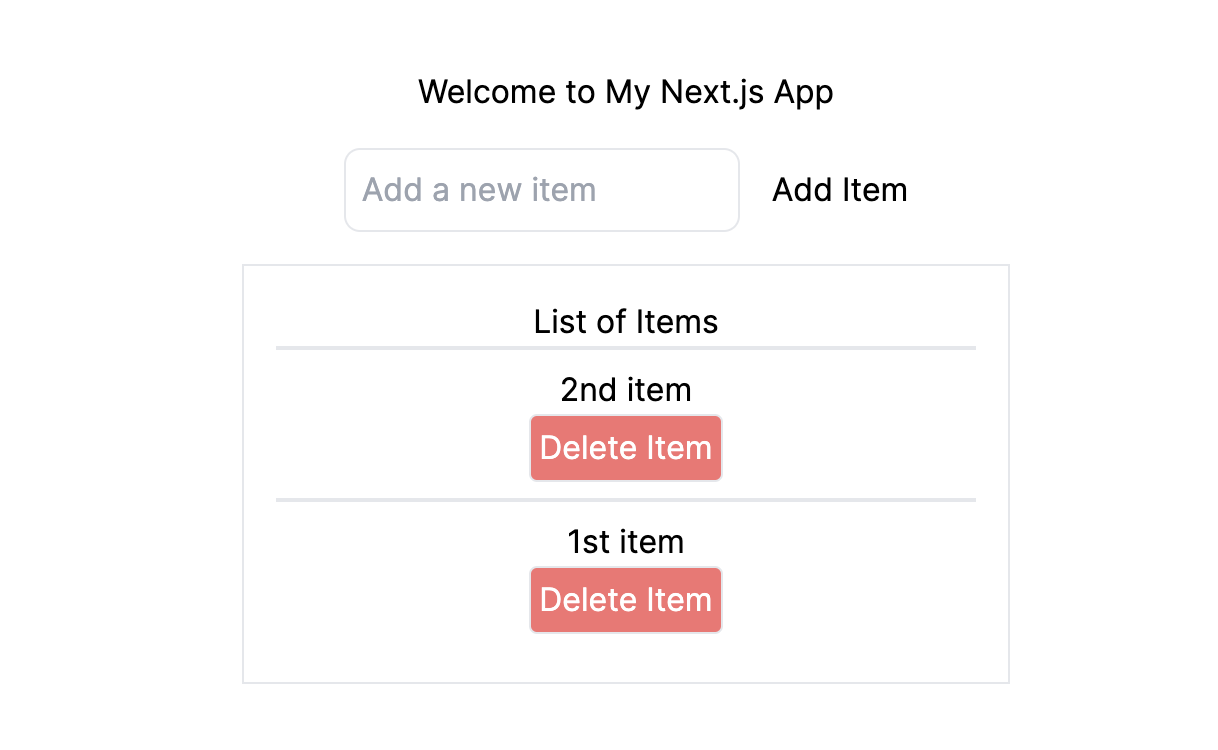
- Refresh the page, add some items and then refresh it once more to see something like this:
Conclusion
Congrats you now know how to setup Firebase Firestore in a NextJS app! The next steps are to implement the Update items method. If you want to build a more robust UI try using Shadcn UI with NextJS and Tailwind project.
You can also deploy for free at Vercel if you’d like but this is a great start with Firebase.
🚨 Create a Free Developer Portfolio website 🚨
With MyDevPage you can build your own portfolio website in 1 minute. You need to focus on building great projects and enhancing your skills rather than wasting your time in building and designing a portfolio website from scratch.
MyDevPage handles everything:
- Update easily on the go from your phone
- Beautiful Portfolio Website
- Upload your resume easily
- Useful Website Analytics
- Simple Customization
- Add Custom Domain
- Control over SEO
- Contact Form
Try it out today (it's Free!) 👉 MyDevPage 👈

FAQ
Here are some common questions you might have when setting up Firestore with Next.js 14:
Why do I need 'use client' for my components using Firestore?
The Firebase Client SDK (v9+) is designed to run in the browser. It interacts with browser APIs for features like authentication state persistence and real-time listeners. In Next.js 14's App Router, components are Server Components by default. To use browser-specific code or hooks like useState and useEffect (often needed with Firestore), you must explicitly mark the component or a parent component as a Client Component using the 'use client' directive at the top of the file.
Is it safe to put my Firebase config keys directly in the code?
No. You should store your Firebase configuration keys in environment variables, specifically using a .env.local file in your Next.js project root. Prefix the variable names with NEXT_PUBLIC (e.g., NEXT_PUBLIC_FIREBASE_API_KEY) to make them accessible in the browser. Crucially, add .env.local to your .gitignore` file to prevent accidentally committing your secret keys to source control.
My data isn't showing up / I'm getting permission errors.
This is often related to Firestore Security Rules. By default, Firestore might block all reads and writes after an initial grace period. Go to your Firebase project > Firestore Database > Rules tab. Ensure your rules allow the operations you're trying to perform. For development, you might temporarily allow all reads/writes, but never use insecure rules in production. Start with rules like allow read, write: if request.auth != null; (requires users to be authenticated).
How do I fetch data on the server in Next.js 14?
To interact with Firebase securely on the server (e.g., in Server Components, Route Handlers, or Server Actions), you should use the Firebase Admin SDK. This requires service account credentials and should never be exposed to the client. The setup is different from the client SDK covered in this tutorial.
How much does Firestore cost?
Firestore has a generous free tier (the Spark plan), which is usually sufficient for development and small applications. Costs are based on document reads, writes, deletes, and stored data beyond the free limits. Check the official Firebase Pricing page for current details.
How can I listen for real-time data changes?
Instead of using getDocs (which fetches data once), use the onSnapshot listener function provided by the Firestore SDK. This function sets up a real-time listener that triggers whenever the data you're observing changes. Remember to include a cleanup function when using onSnapshot within a useEffect hook to unsubscribe the listener when the component unmounts.