Learn how to integrate EmailJS with React to effortlessly send emails directly from your web app, without the need for a backend server. This step-by-step tutorial will guide you through setting up EmailJS in React, making it simple to send emails using JavaScript in your Next.js or React application.
Introduction
Integrating React Email functionality into your Next.js or React application can greatly enhance user experience by enabling direct communication through JavaScript-powered email sending. In this tutorial, we'll guide you through integrating EmailJS with React to send emails directly using JavaScript, eliminating the need for a backend server in your Next.js or React application.
EmailJS is a powerful yet lightweight JavaScript library that makes it easy to send emails using client-side code in React and Next.js applications. It’s easy to set up and perfect for small to medium-sized applications.
Note: The Github repo with the final code will be linked at the bottom of the tutorial!
Prerequisites
Before we begin, make sure you have the following:
- Basic understanding of React
- Node.js and npm installed
- A basic React project set up
Setting Up EmailJS
To get started with EmailJS in React, sign up and obtain your API keys to seamlessly send emails using JavaScript in your application.
- Visit EmailJS and sign up for a free account.
- Once logged in, navigate to the Dashboard.
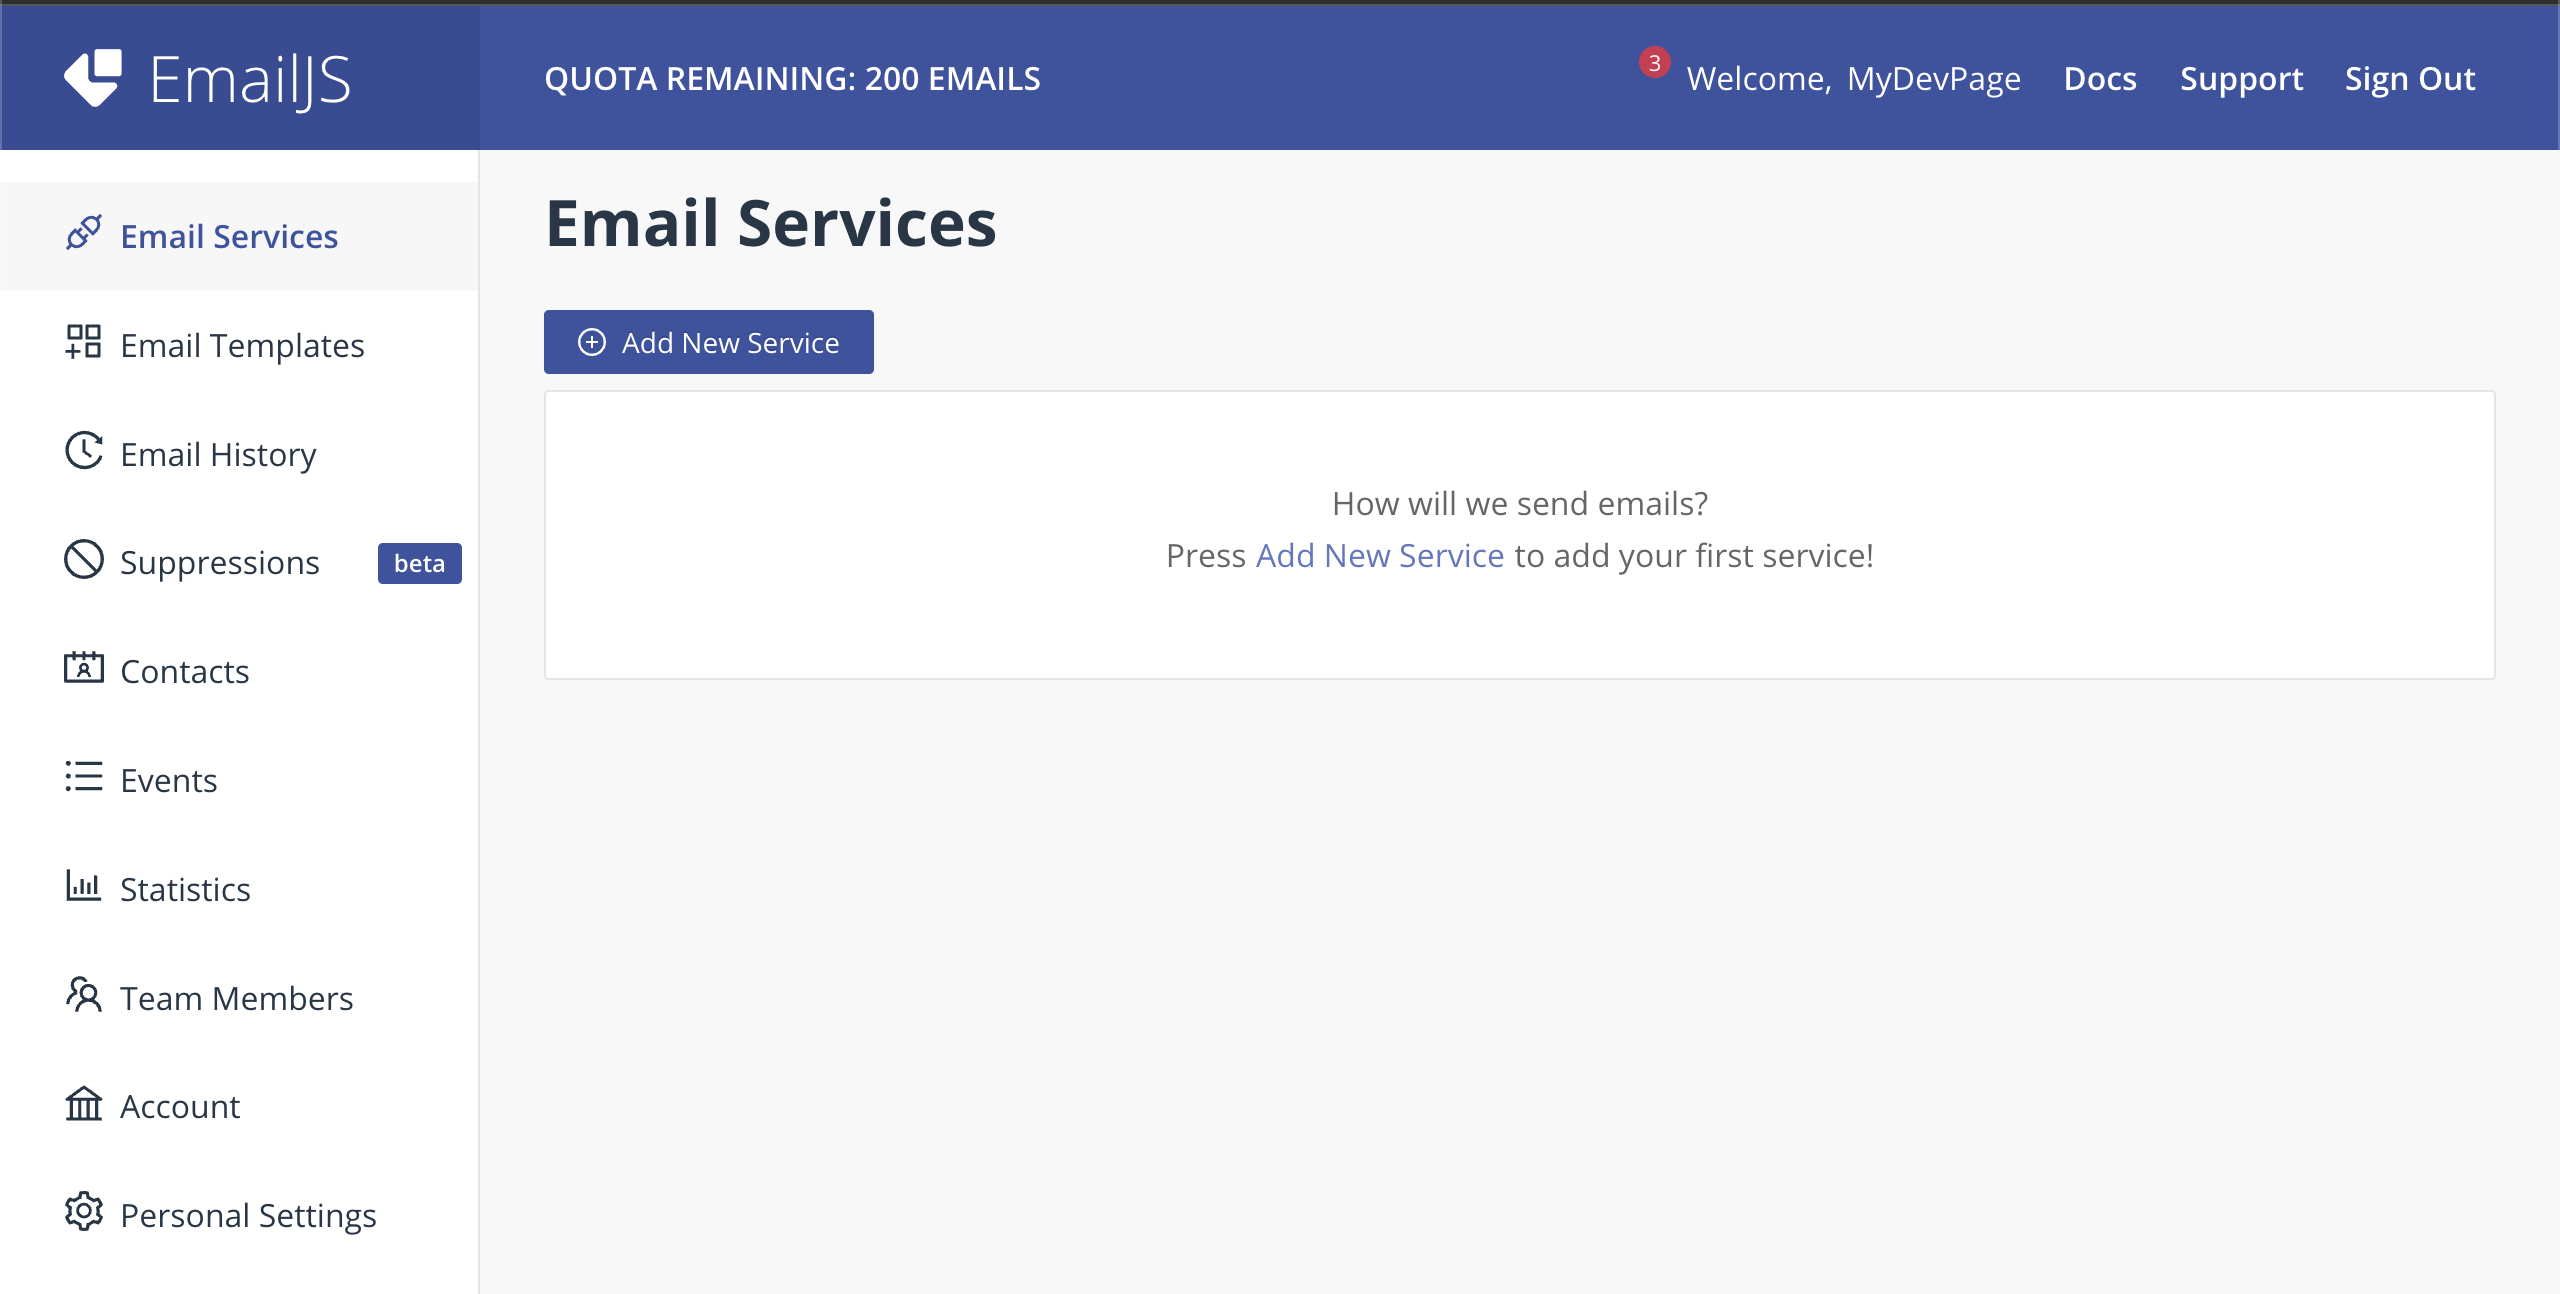
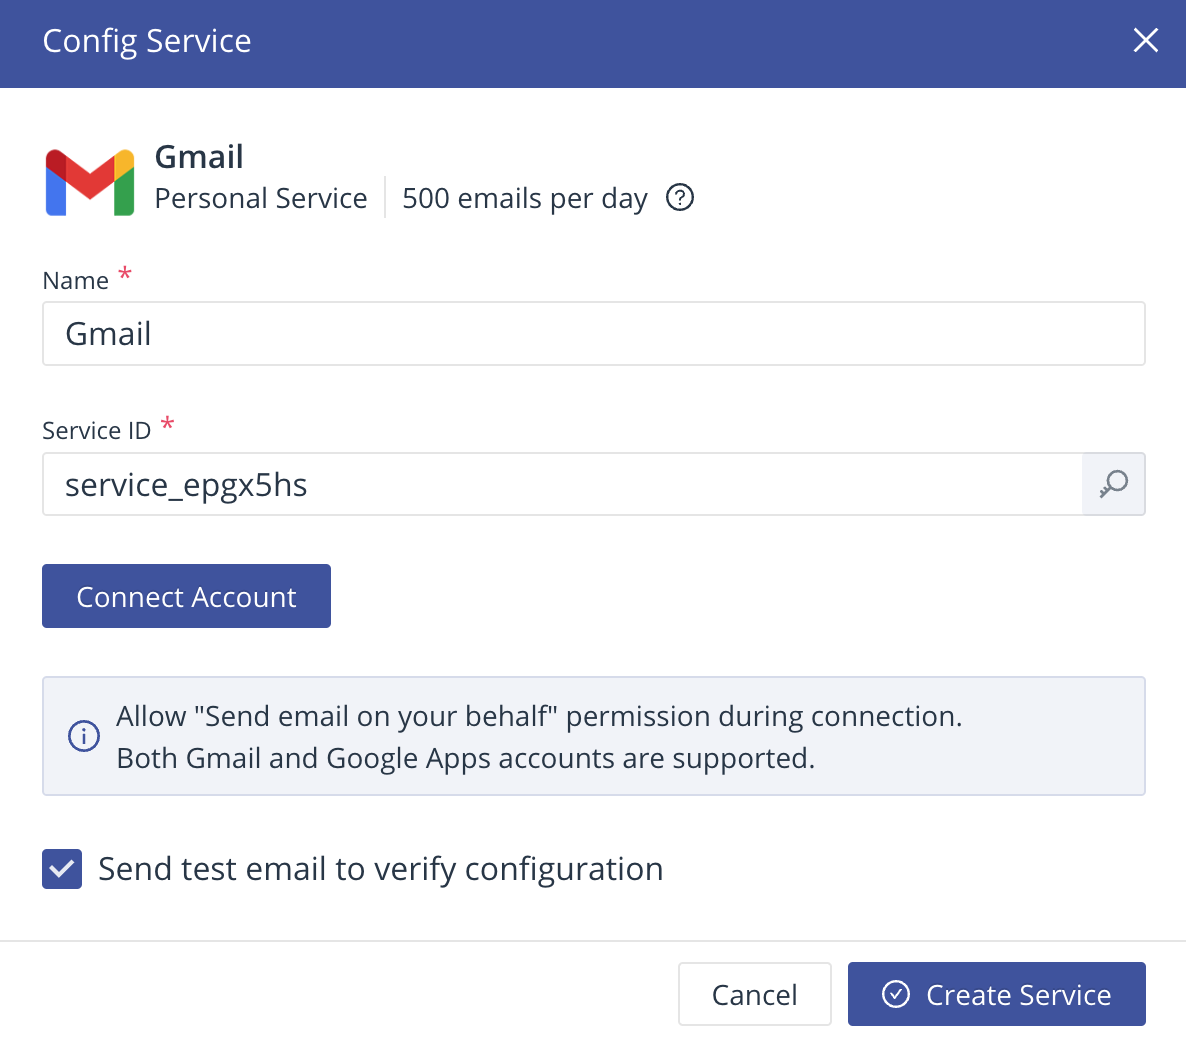
- Create a new Email Service and note down the Service ID
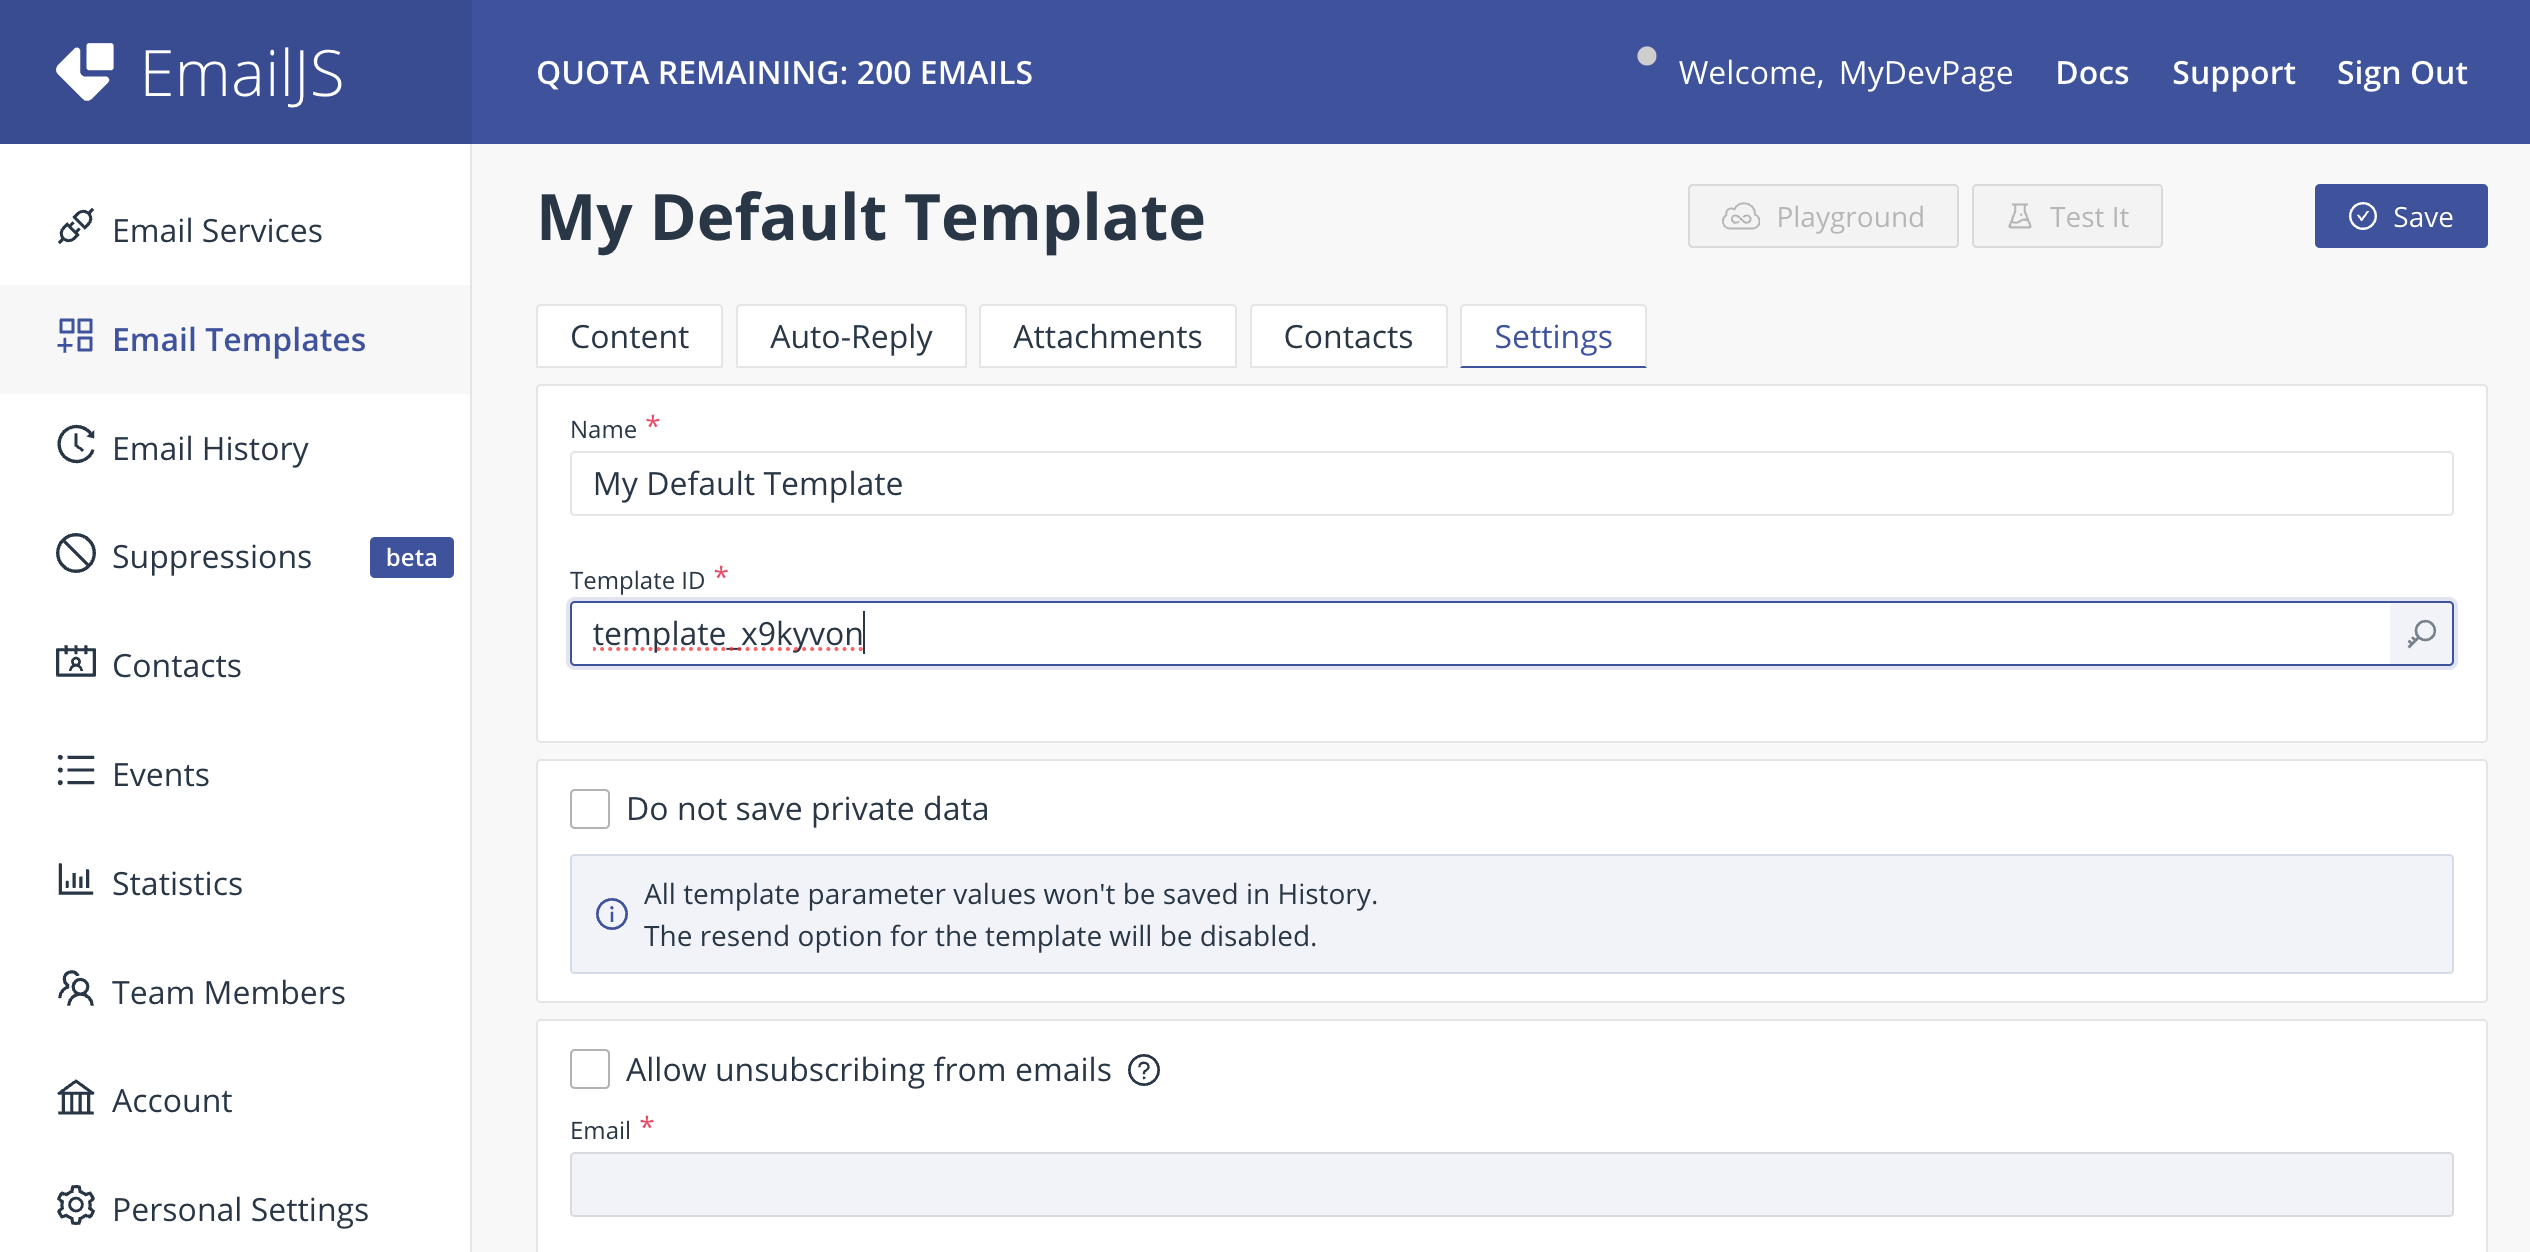
- Create a new Email Template and note down the Template Id
- Find your public key and note down the Public Key
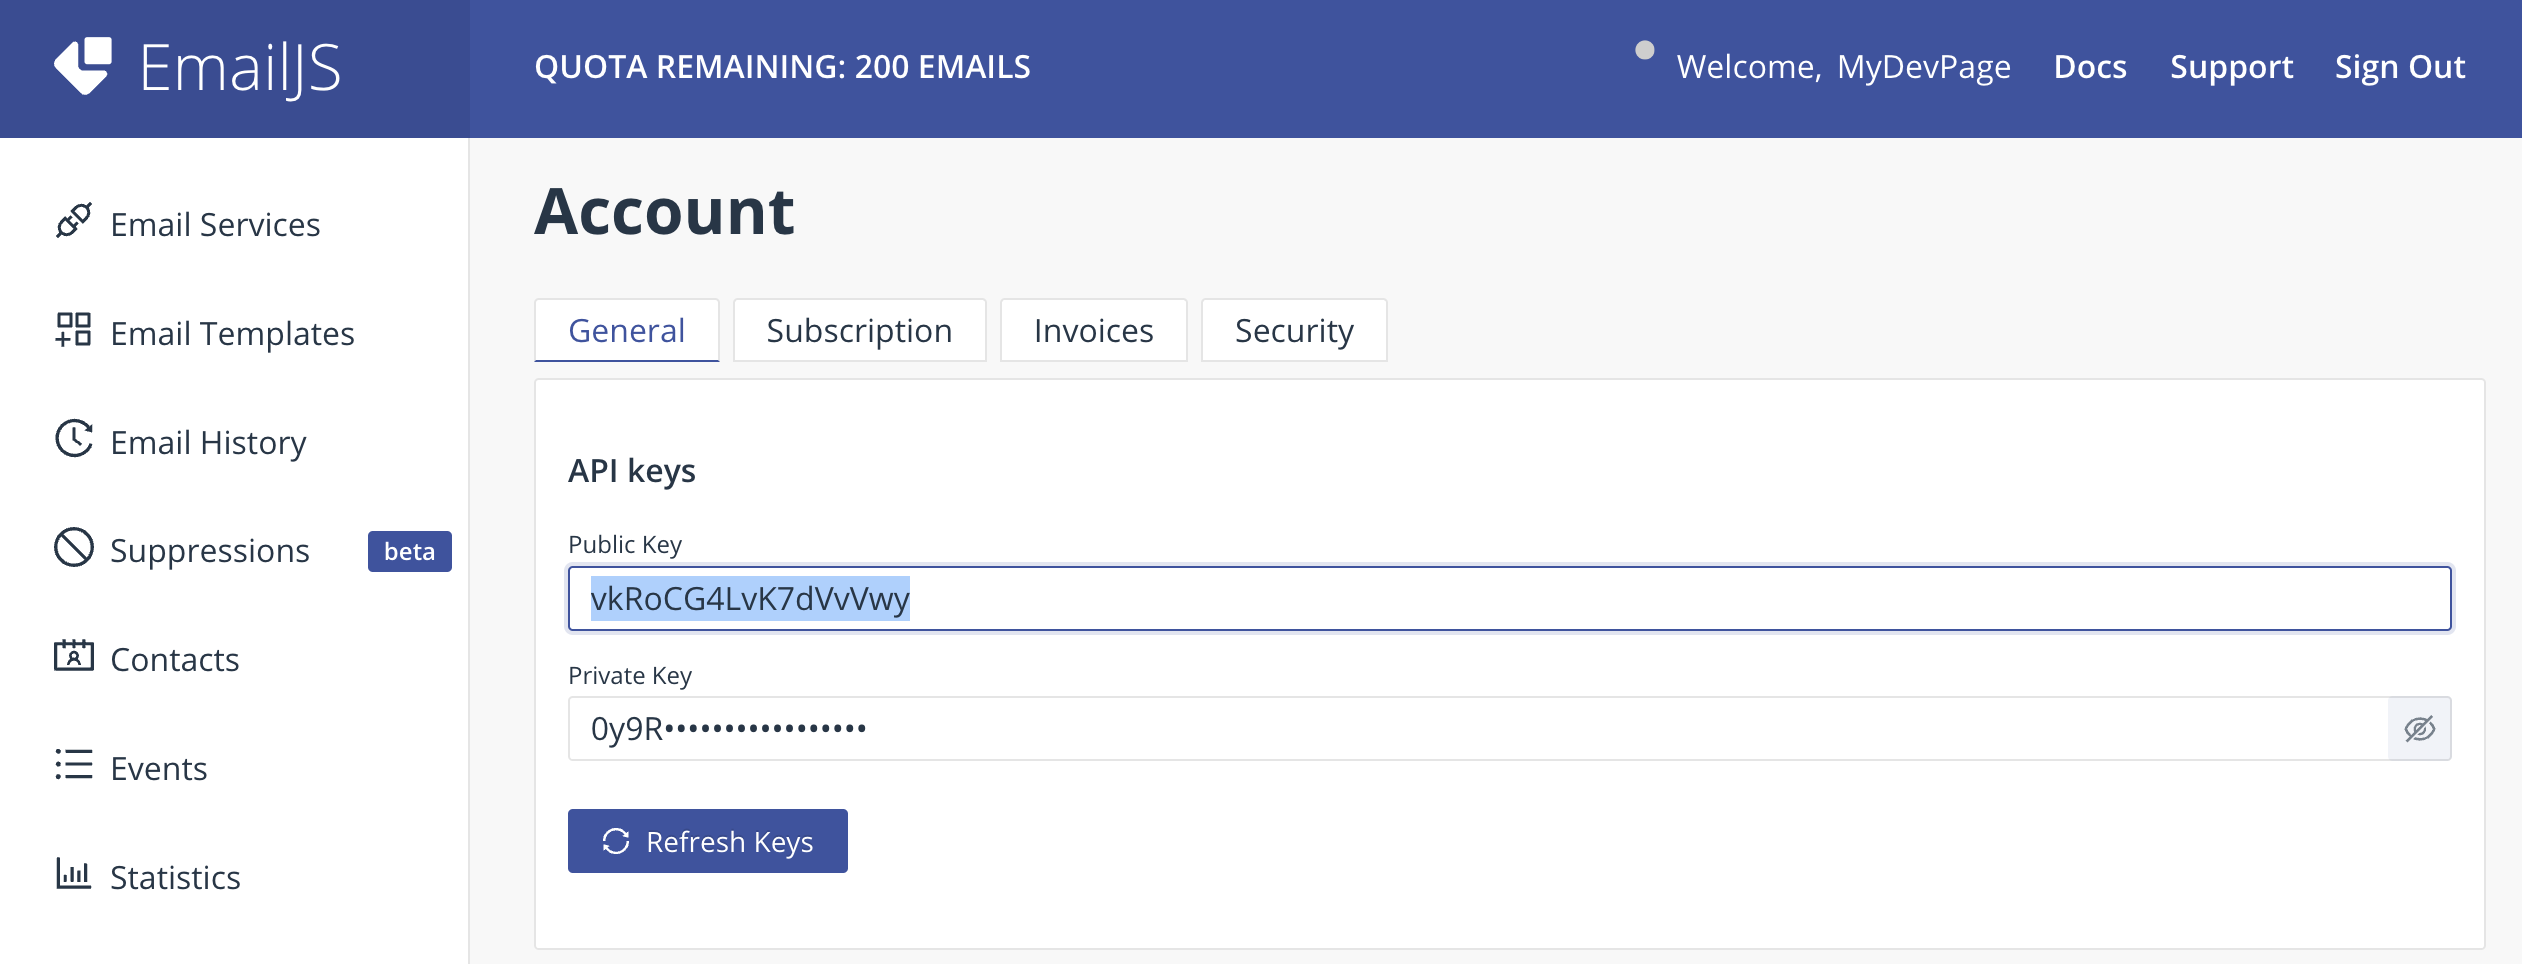
Keep the Service ID, Template ID, and User ID handy, we will need these in a little bit.
Creating the React Application
If you don't have a React application set up, you can create one using create-react-app.
npx create-react-app emailjs-react-tutorial
cd emailjs-react-tutorial
Installing EmailJS
Next, install the EmailJS SDK in your React project to enable JavaScript-based email sending with React EmailJS.
npm install emailjs-com
Building a Contact Form
Open up src/App.js and let's remove all the default code and create our own Contact form. We're going to make it simple so you can follow along easily and customize it to your own liking. The form will have 3 things: name, email and message.
import React, { useState } from "react"
import "./App.css"

function App() {
  const [formData, setFormData] = useState({
    name: "",
    email: "",
    message: "",
  })

  const handleChange = (e) => {
    setFormData({
      ...formData,
      [e.target.name]: e.target.value,
    })
  }

  const handleSubmit = (e) => {
    e.preventDefault()
    // Email.js integration will go here
  }
  return (
    <div>
      <form onSubmit={handleSubmit}>
        <div>
          <label>Name</label>
          <input
            type="text"
            name="name"
            value={formData.name}
            onChange={handleChange}
            required
          />
        </div>
        <div>
          <label>Email</label>
          <input
            type="email"
            name="email"
            value={formData.email}
            onChange={handleChange}
            required
          />
        </div>
        <div>
          <label>Message</label>
          <textarea
            name="message"
            value={formData.message}
            onChange={handleChange}
            required
          ></textarea>
        </div>
        <button type="submit">Send</button>
      </form>
    </div>
  )
}

export default App
Adding styles
To make it look like an actual form we're going to add some basic styling to the form. Just copy it and replace all the styles in src/App.css with the code below.
form {
  max-width: 600px;
  margin: 1em auto;
  padding: 1em;
  border: 1px solid #ccc;
  border-radius: 1em;
}

div {
  margin-bottom: 1em;
}

label {
  margin-bottom: 0.5em;
  color: #333333;
  display: block;
}

input,
textarea {
  border: 1px solid #cccccc;
  padding: 0.5em;
  font-size: 1em;
  width: 100%;
  box-sizing: border-box;
  border-radius: 1em;
}

button {
  padding: 1em;
  color: #fff;
  background-color: #007bff;
  border: none;
  border-radius: 1em;
  cursor: pointer;
}

button:hover {
  background-color: #0056b3;
}
Integrating EmailJS with React
So if you start the app up now with npm start you can see a simple contact form.
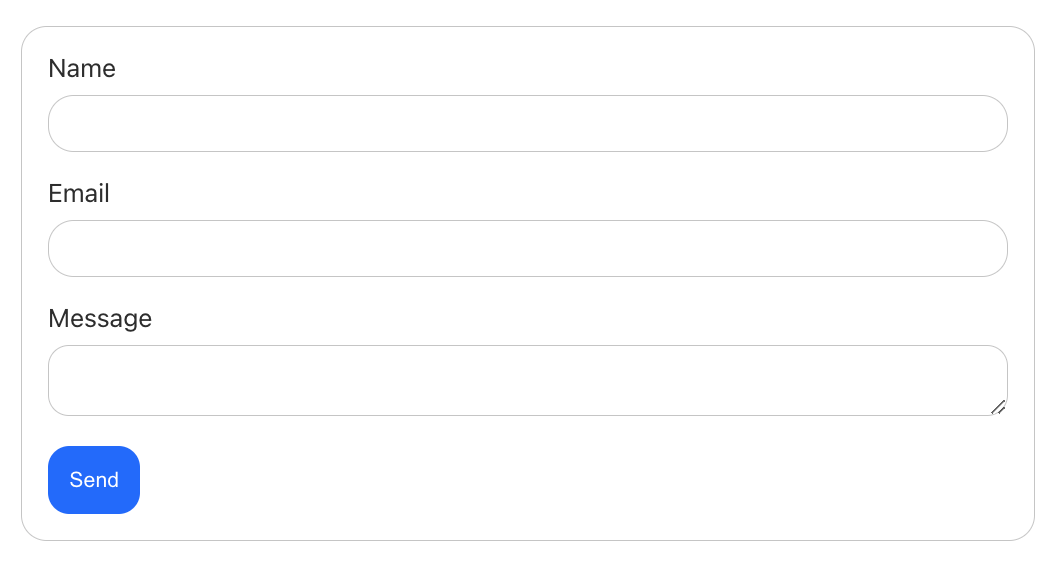
Now, let's integrate EmailJS with React in our contact form to send emails using JavaScript directly from your web app. Update src/App.js with the code below.
import React, { useState } from "react"
import emailjs from "emailjs-com"
import "./App.css"

function App() {
  const [formData, setFormData] = useState({
    name: "",
    email: "",
    message: "",
  })

  const handleChange = (e) => {
    setFormData({
      ...formData,
      [e.target.name]: e.target.value,
    })
  }

  const handleSubmit = (e) => {
    e.preventDefault()

    emailjs
      .sendForm(
        "YOUR_SERVICE_ID",
        "YOUR_TEMPLATE_ID",
        e.target,
        "YOUR_PUBLIC_KEY"
      )
      .then(
        (result) => {
          alert("Message Sent Successfully!")
        },
        (error) => {
          alert("An error occurred, please try again.")
        }
      )

    setFormData({
      name: "",
      email: "",
      message: "",
    })
  }

  return (
    <div>
      <form onSubmit={handleSubmit}>
        <div>
          <label>Name</label>
          <input
            type="text"
            name="name"
            value={formData.name}
            onChange={handleChange}
            required
          />
        </div>
        <div>
          <label>Email</label>
          <input
            type="email"
            name="email"
            value={formData.email}
            onChange={handleChange}
            required
          />
        </div>
        <div>
          <label>Message</label>
          <textarea
            name="message"
            value={formData.message}
            onChange={handleChange}
            required
          ></textarea>
        </div>
        <button type="submit">Send</button>
      </form>
    </div>
  )
}

export default App
Now change the three YOUR_SERVICE_ID, YOUR_TEMPLATE_ID and YOUR_PUBLIC_KEY from the initial setup we did earlier.
Note: If you are deploying or pushing it to Github I would recommend putting these in a .env file.
Testing out the Contact Form
Now that we have everything set up it's time to test it so here is my contact form with some data.
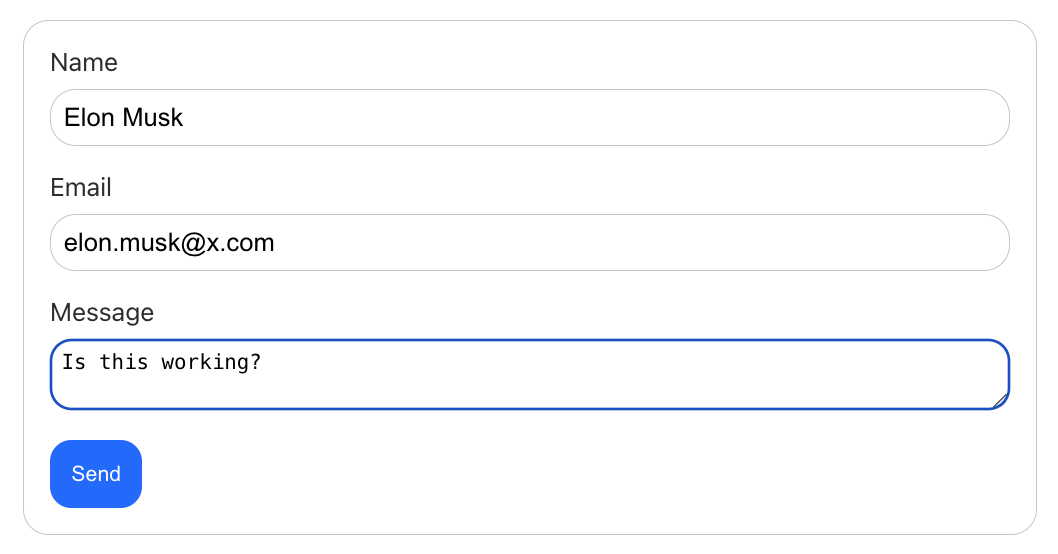
I'm going to Send it and let's see what happens!
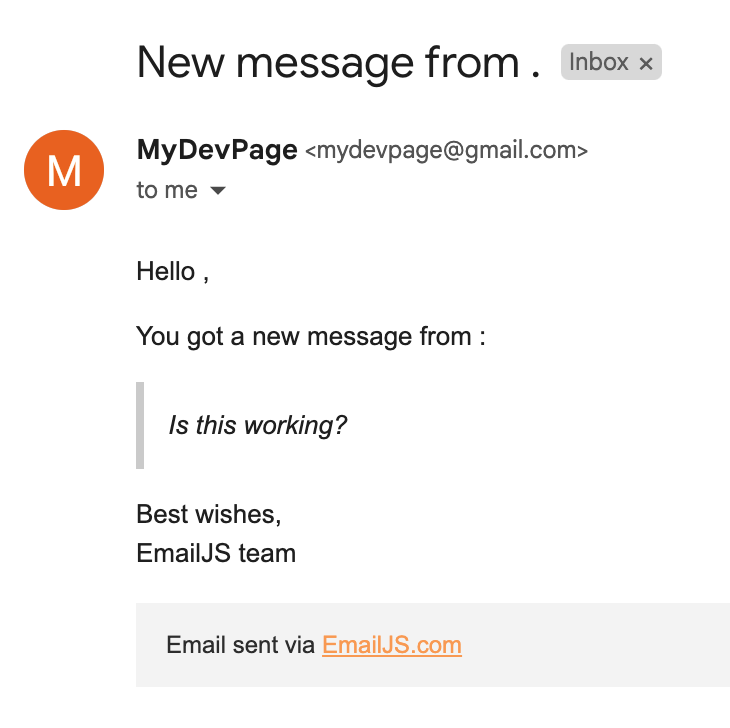
Yay! The email is successfully sent with just a few lines of code, thanks to React EmailJS and JavaScript-powered email sending.
Next steps
We've only scratched the surface with what we can do with EmailJS. To recap in this tutorial, we covered how to integrate EmailJS with a React application. We set up a basic contact form, setup and integrated EmailJS to send emails, and styled the form.
In summary, EmailJS simplifies JavaScript email sending in client-side applications, making it an ideal choice for React and Next.js email projects of small to medium scale.
For more details on how to send emails using EmailJS in React, check out the Email.js documentation.
Github Repository
As promised here is the Github repo with all the code we wrote in this tutorial. 👉 Github Link
Check out our other tutorial on how to send emails using Next.js 14 with Resend and React-Email for even more email-sending options in your applications.
Until next time, keep on learning!
