Learn how to create a Vite React app with our step-by-step tutorial. Discover Vite's benefits, including fast startup, HMR, and optimized builds, for efficient modern web development.
Introduction
Vite is a modern build tool that provides a fast and efficient development experience for web projects. It is especially useful for building React applications due to its quick startup times and hot module replacement (HMR) capabilities. This tutorial will guide you through the steps to create a Vite React app from scratch.
Prerequisites
Before you begin, ensure you have the following installed:
- Node.js (version 12.0.0 or higher)
- npm (Node Package Manager)
Step 1: Install Vite
First, you need to install Vite. Open your terminal and run the following command:
npm install -g create-vite
Step 2: Create a New Vite Project
Next, create a new project using Vite. Run the following command in your terminal:
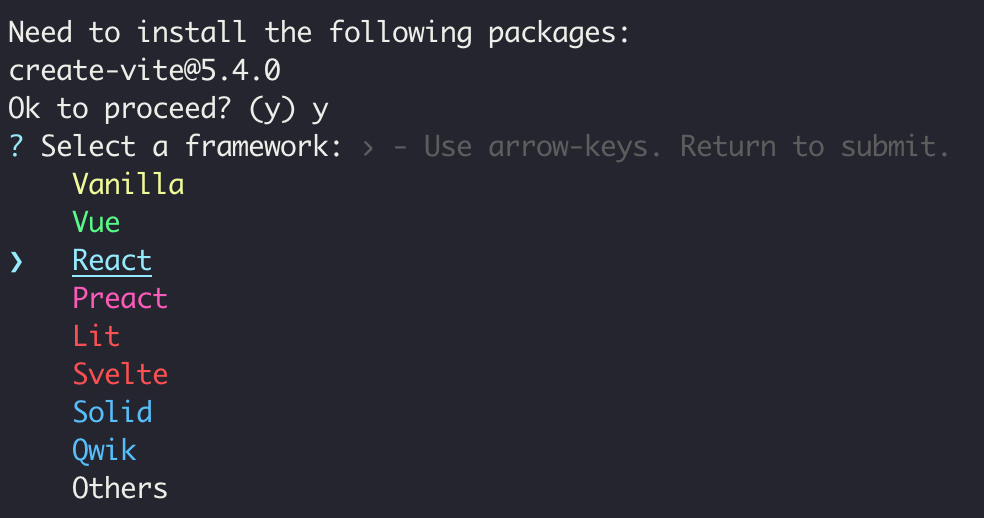
npm create vite@latest my-first-vite-react-app
When prompted to select a template. Choose "React" by using the arrow keys and pressing Enter or Spacebar.
For variant I am going with TypeScript in this case.
What is TypeScript + SWC?
TypeScript SWC is a high-performance TypeScript compiler that leverages the Rust programming language for speed and efficiency. It can be significantly faster than tsc. Best with large codebases.
After selecting the framework and variant, Vite will create a new project directory named my-vite-react-app.
Step 3: Navigate to the Project Directory
Change to the newly created project directory:
cd my-first-vite-react-app
Step 4: Install Project Dependencies
Install the project dependencies by running:
npm install
Step 5: Start the Development Server
Start the Vite development server using the following command:
npm run dev
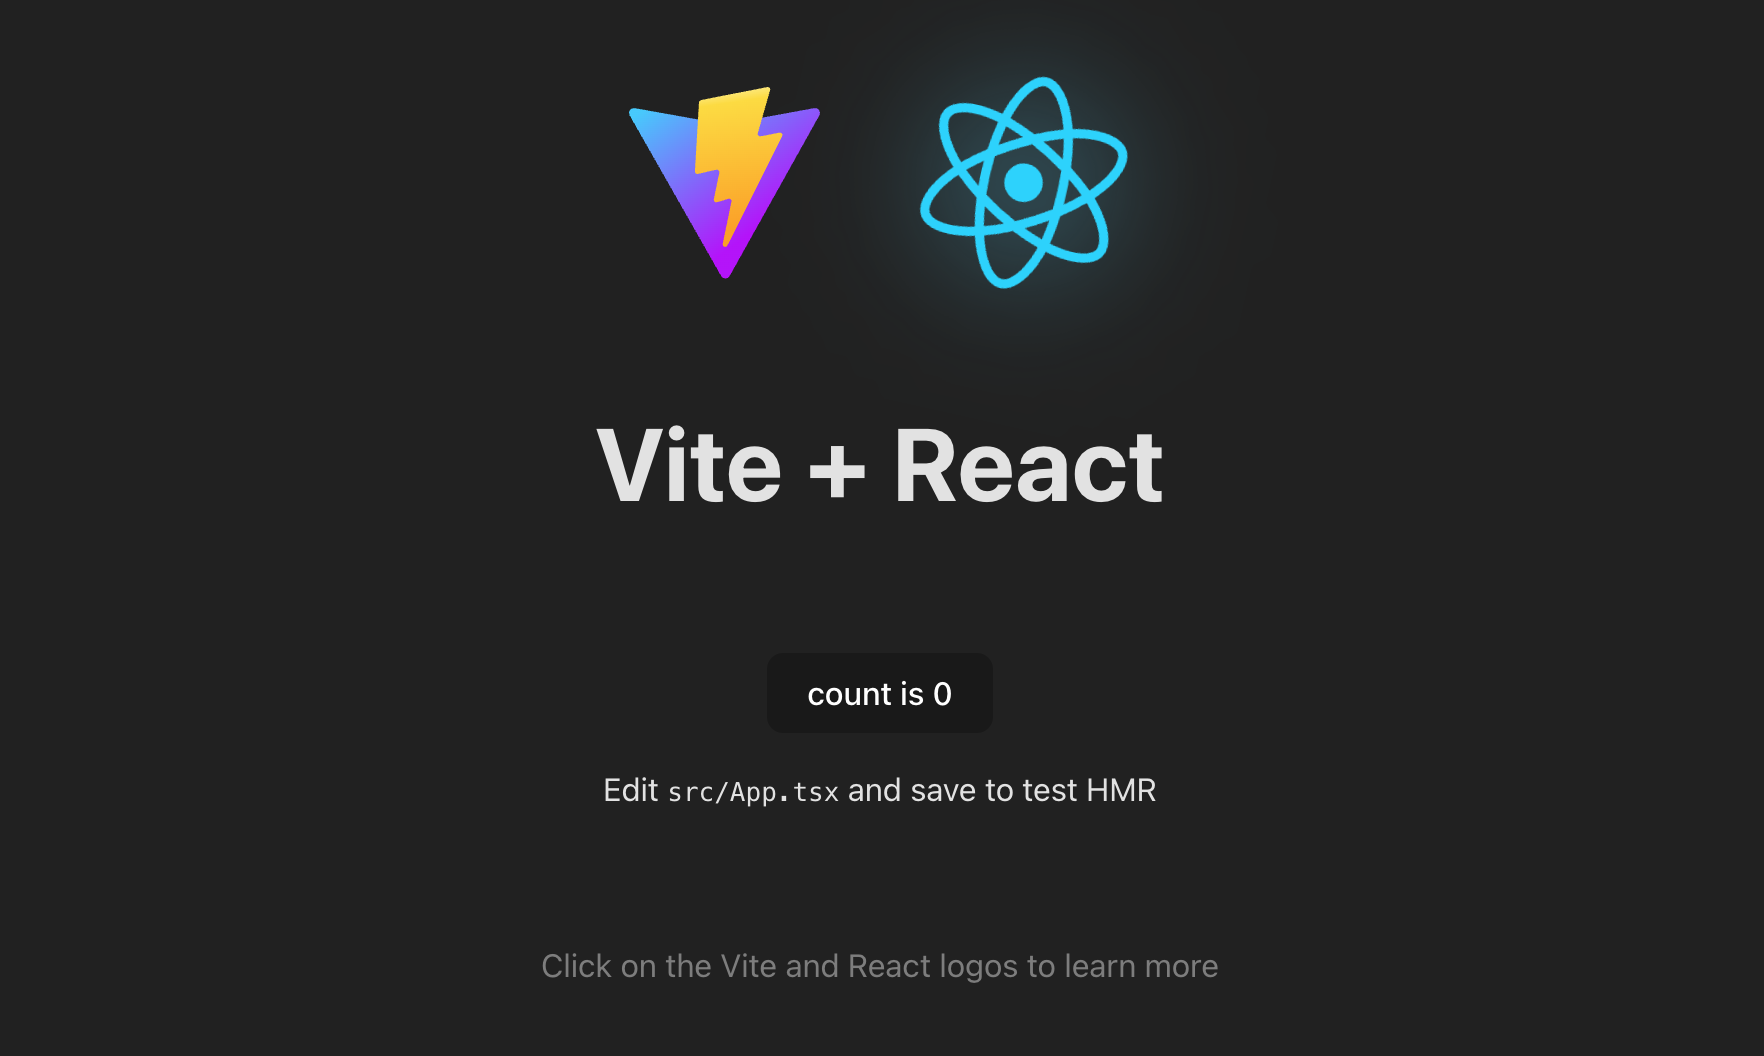
You should see something like this now on port 5173
Step 6: Understanding the Project Structure
Your Vite React app project structure will look something like this:
├── node_modules
├── public
├── src
│   ├── assets
│   ├── App.css
│   ├── App.tsx
│   ├── index.css
│   ├── main.tsx
│   └── vite-env.d.ts
├── .eslintrc.cjs
├── .gitignore
├── index.html
├── package.json
├── README.md
├── tsconfig.json
└── vite.config.ts
- src: Contains the main application code, including React components and styles.
- /src/assets: Contains static assets like images.
- /src/App.tsx: This is file we want to modify and have most of our component entry points
- /src/main.tsx: This is the root React element that gets injected to the index.html file root div and used for this like state management setup (redux, context).
- vite.config.ts: The Vite configuration file will need to be modified as your project gets complex and requires for specific plugins.
Step 7: Modify the App Component
Open the src/App.jsx file and modify it to create a simple React component:
import React from 'react';

function App() {
  return (
    <div className="App">
      <h1>Hello, Vite + React!</h1>
    </div>
  );
}

export default App;
Step 8: Hot Module Replacement
Vite comes with HMR out of the box, which means any changes you make to your React components will be reflected in real-time without needing a full page reload. Try modifying the App.tsx file, and you will see the changes instantly in your browser.
If you're curious I wrote a comparison blog for Vite vs NextJS.
Step 9: Build for Production
When you are ready to deploy your Vite React app, you can build it for production by running:
npm run build
This command will create an optimized build of your application in the dist directory.
Note: You do not need to build before pushing or deploying your code, this can be done automatically as most providers will use the build command from package.json which is already setup as vite build.
Conclusion
Congrats! You have successfully created a Vite React app. You can now start building your React application with a highly optimized development setup.
For more information and advanced configurations, refer to the Vite documentation.
There will be more intermediate and advanced tutorials coming up so make sure to signup for the newsletter below.