
Next.js is a powerful React framework that enables developers to create full-fledged applications with features like server-side rendering (SSR), static site generation (SSG), API routes, and more. Server-side rendering is one of the standout features of NextJS, allowing web pages to be rendered on the server instead of the client, which can improve performance and SEO.
What is server-side rendering and why is it important?
Server-side rendering is a technique where the HTML of a page is generated on the server for each request. When a user requests a page, the server fetches the necessary data, renders the HTML, and sends it to the client. With SSR, we can present a pre-rendered HTML version of our app to users while JavaScript code loads. This can greatly improve how quickly your website content appears on screen as it makes it easier for SEO crawlers to pick up details of the site.
Setting up a NextJS project
Before diving into Server-Side Rendering, let’s first set up a NextJS project.
Run the following command in your terminal to create a new NextJS project with any option you like, I'm going with the recommended settings such as TypeScript, src directory, Tailwind:
npx create-next-app my-app
Navigate to project you have created:
cd my-app
Start the Development Server:
npm run dev
Your NextJS application should now be running at http://localhost:3000
Creating Pages with SSR using getServerSideProps()
In NextJS, pages are components stored in the pages directory. Each file in this directory corresponds to a route. For SSR, we can use the getServerSideProps() function to fetch data on the server and pass it to your page component.
Let’s create a simple page with Server-Side Rendering.
-
Remove the src/app/page.tsx file in the app directory and then create a new pages folder inside src with the filename as index.tsx:
-
Create component with the SSR logic:
// src/pages/index.tsx
export async function getServerSideProps() {
  // Fetch data from an external API or a database
  const res = await fetch('https://jsonplaceholder.typicode.com/posts');
  const posts = await res.json();

  // Pass data to the page via props
  return {
    props: {
      posts,
    },
  };
}

export default function SSRPage({ posts }) {
  return (
    <div>
      <h1>Server-Side Rendered Page</h1>
      <ul>
        {posts.map((post) => (
          <li key={post.id}>{post.title}</li>
        ))}
      </ul>
    </div>
  );
}
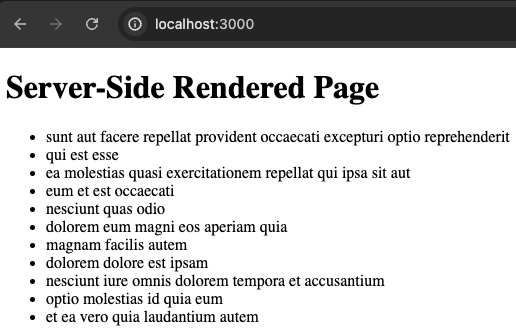
- View the SSR Page: Start your NextJS development server (if it's not already running) and navigate to http://localhost:3000. You should see a list of posts fetched from the API.
Data Fetching with getServerSideProps()
getServerSideProps() function is at the heart of Server-Side Rendering in NextJS. Two of the benefits of it are, it runs on the server for each page it's used in and it is an async function allowing us to perform asynchronous operations like fetching data from an API or database.
It also receives a context object containing helpful information about the request, such as query parameters, cookies, and more.
Note: Usually getServerSideProps is abbreviated as GSSP
export async function getServerSideProps(context) {
  const res = await fetch(`https://jsonplaceholder.typicode.com/posts/${context.params.id}`);
  const post = await res.json();

  return {
    props: {
      post,
    },
  };
}
The GSSP function above returns an object with a props key, which contains the data passed to the page component.
Creating Pages with SSR using getStaticProps()
getStaticProps function in Next.js can also be utilized for server-side rendering. It is used to pre-render a page at build time by fetching application data and returning it as props. With it, you can increase the efficiency of your application because it reduces the amount of data that needs to be fetched during runtime.
getStaticProps allows you to generate the page's HTML ahead of time and store it as a static file, eliminating the need to generate the HTML on every request.
Now let's create a new route to see a static page in action. Inside src/pages create a static-page.tsx file and add the code below.
export default function Home({ data }: any) {
  return (
    <main>
      <h1>A List of Blog Posts</h1>
      {data.map((post: any) => (
        <div key={post.id}>
          <h2>Title: {post.title}</h2>
          <p>Content: {post.body}</p>
        </div>
      ))}
    </main>
  )
}

export async function getStaticProps() {
  //Making a get request to an API endpoint to get posts
  const res = await fetch("https://jsonplaceholder.typicode.com/posts")
  const data = await res.json()
  return {
    props: {
      data,
    },
  }
}
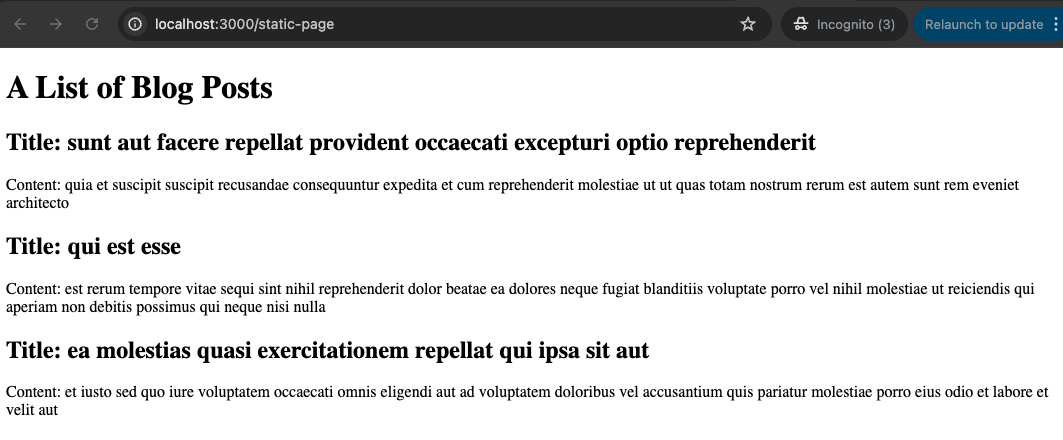
Then visit http://localhost:3000/static-page and you should see something a page that is built fully static.
Data Fetching with getStaticProps()
As you saw in the code above there is a getStaticProps() under the Home component which is making a fetch request to get data from jsonplaceholder.
Once the data is successfully retrieved, it is returned as a prop to the Home component as data. Inside of the Home component the props are destructured getting the data prop and in the render we map through to data which is an array to display a list of blog post with title and some body.
Deployment
When deploying a Next.js application with SSR, make sure that the hosting platform supports Node.js server environments. Popular platforms like Vercel (which developed NextJS), AWS, and Netlify all support SSR.
My favorite platform that makes it seamless, has great UI and is free is Vercel.
To deploy your application on Vercel the easiest way is uploading to your favorite source control website like: GitHub, GitLab, or Bitbubket and then visting this page to deploy straight from the repo.
I prefer this way since it's easy to follow and see what's going on and you can make it so everytime there is new deployments to your main branch it'll automatically deploy the latest changes.
Conclusion
Server-side rendering with NextJS provides a powerful way to deliver fast, dynamic, and SEO-friendly content. By leveraging getServerSideProps, we can ensure our application meets the needs of our users while taking advantage of the robust features NextJS offers. Whether you're building an e-commerce site, a news platform, or any other type of web application, SSR can be a crucial tool in your development toolkit. Especially if you care about speed and performance you'll love these features.
Frequently Asked Questions
1. What is Server-Side Rendering (SSR) in Next.js?
Server-Side Rendering is a technique where the HTML of a page is generated on the server for each request. In Next.js, SSR allows web pages to be rendered on the server instead of the client, improving performance and SEO.
2. How do you implement SSR in a Next.js application?
You can implement SSR in Next.js by using the getServerSideProps() function in your page components. This function runs on the server for each request and allows you to fetch data and pass it as props to your page.
Example:
export async function getServerSideProps(context) {
  const data = await fetchSomeData();
  return {
    props: { data },
  };
}
3. What's the difference between getServerSideProps() and getStaticProps()?
- getServerSideProps(): Runs on every request, used for dynamic SSR.
- getStaticProps(): Runs at build time, used for static generation. Also pre-renders pages, storing them as static files, which can be more efficient for content that doesn't change frequently.
4. How does SSR in Next.js improve SEO?
SSR makes it easier for search engine crawlers to index your site because the content is already rendered when the page is loaded. This can lead to better search engine rankings compared to client-side rendered applications.
5. What should I consider when deploying a Next.js application with SSR?
When deploying a Next.js app with SSR:
- Ensure your hosting platform supports Node.js server environments.
- Consider server resources required to render pages on each request.
- Popular platforms: Vercel, AWS, and Netlify.
6. How do I set up a new Next.js project?
To set up a new Next.js project:
- Run: npx create-next-app my-app
- Navigate to the project: cd my-app
- Start the development server: npm run dev
7. What is the context object in getServerSideProps()?
The context object in getServerSideProps() contains information about the request, such as query parameters and cookies. It allows you to access request-specific data when fetching content on the server.
8. Can I use SSR for only some pages in my Next.js application?
Yes, you can use SSR for specific pages by implementing getServerSideProps() only in those page components. Other pages can use client-side rendering or static generation as needed.
9. How does Next.js handle routing for SSR pages?
In Next.js, pages are automatically routed based on their file names in the pages directory. For example:
- pages/ssr.js would be accessible at /ssr
- This applies to both SSR and non-SSR pages
10. What are the performance implications of using SSR in Next.js?
Performance considerations for SSR:
- Can improve initial page load times and SEO
- Requires server resources for each request
- For high-traffic sites, ensure your server can handle the load
- A combination of SSR and static generation might be the most efficient approach for some applications